
Tile Installation in Toronto & Mississauga
Tile installation in Toronto and Mississauga is judged by two things: the edges you can feel and the layers you cannot see. Artifex Reno sets floor, shower, backsplash and feature tile on a mechanical levelling system, over a prepared substrate and proper waterproofing, so the finished surface stays flat and the wet areas stay dry.
Get a free estimate or call 647 223 4051.
What's included
Shower and bathroom tile, with waterproofing behind it, including walk-in and curbless showers, benches and recessed niches.
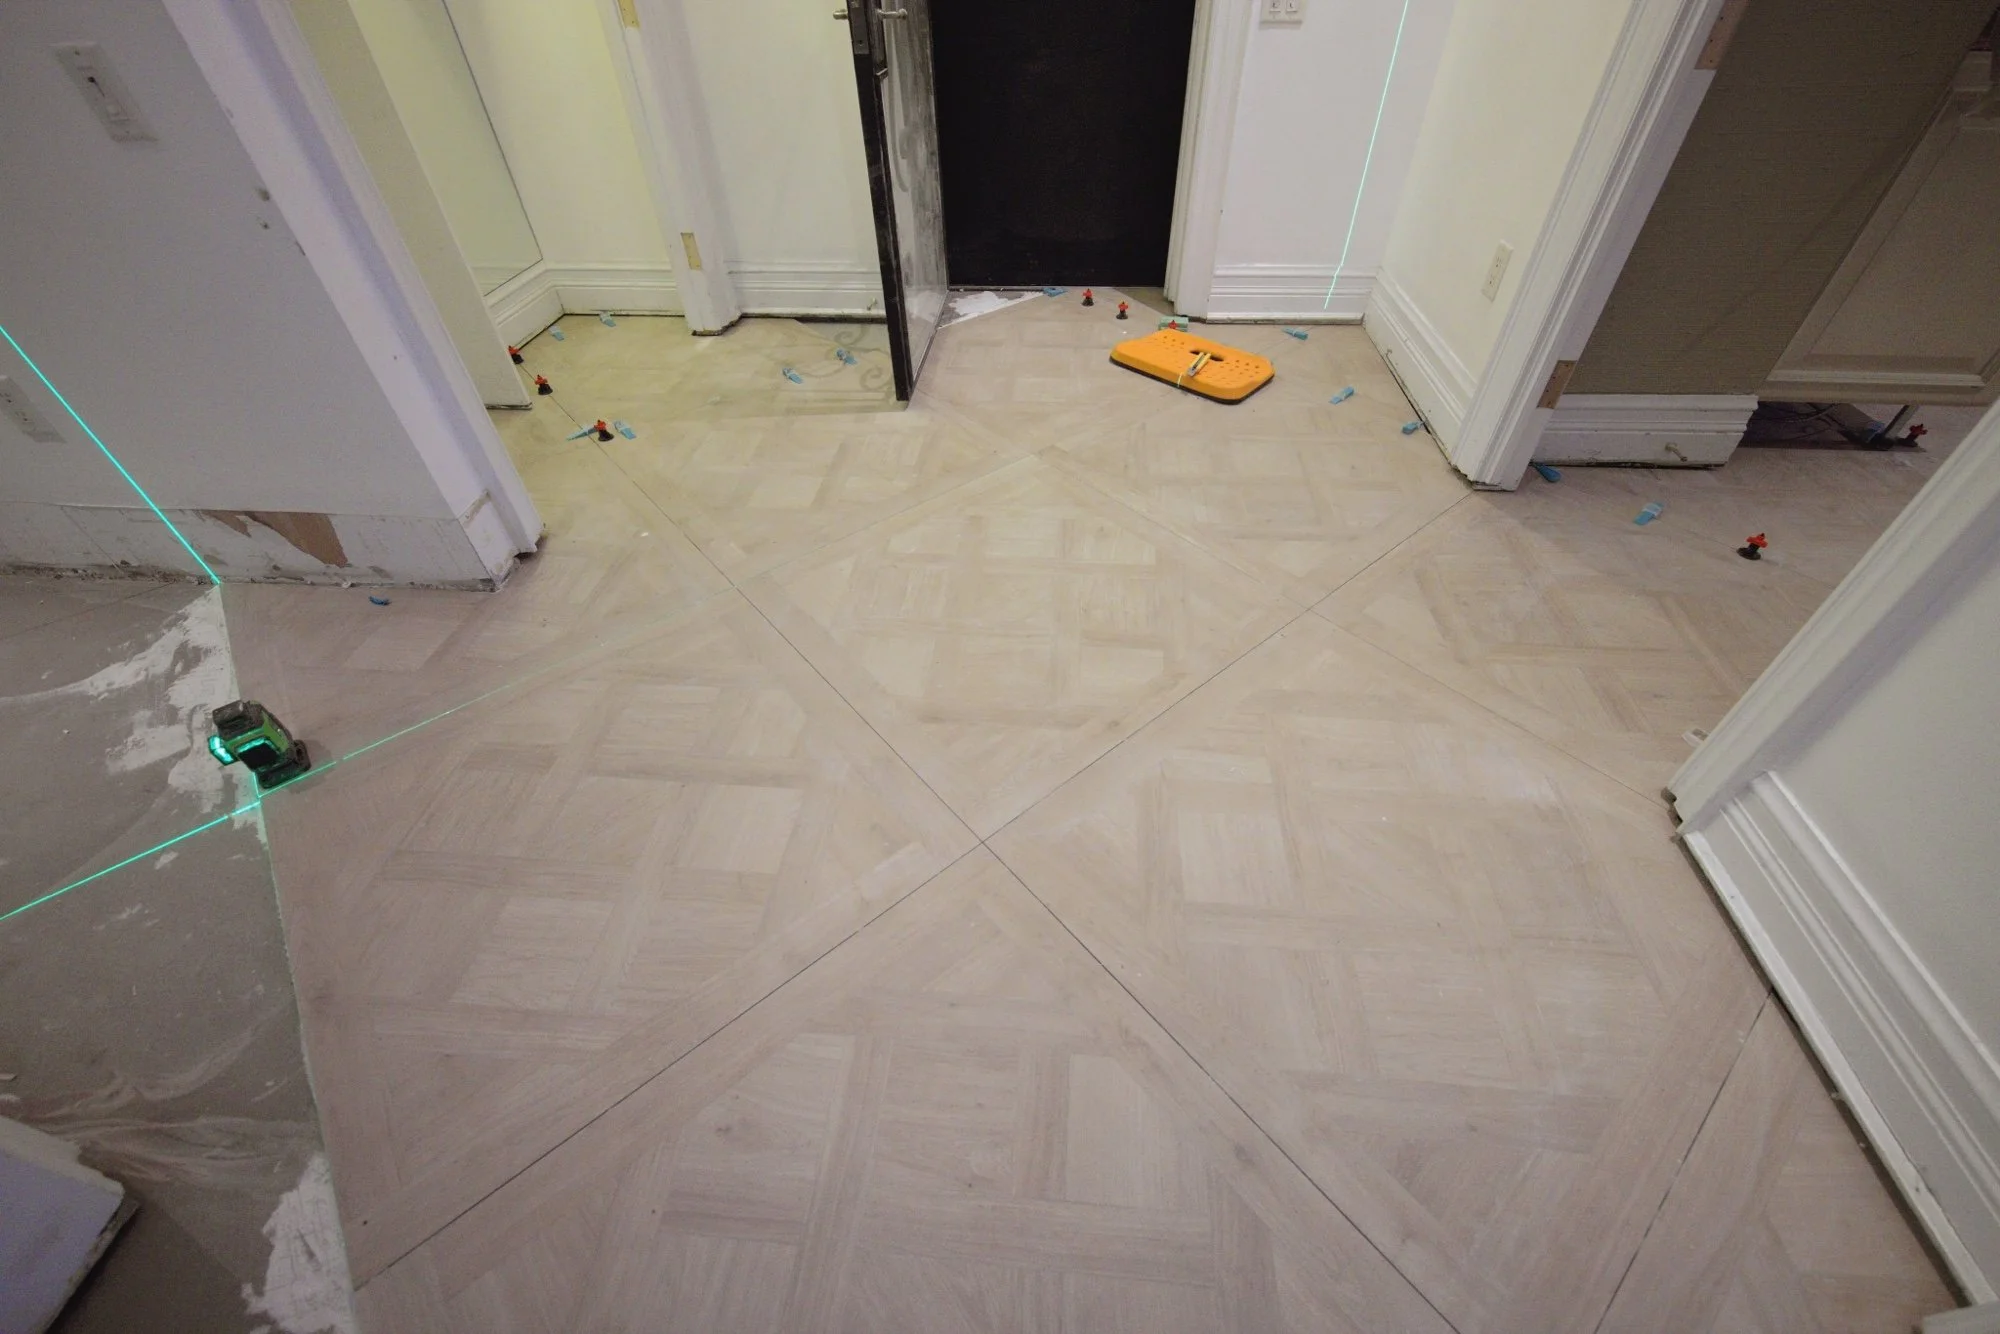
Floor tile, including herringbone, wood-look and patterned floors.
Mosaic floors, including heritage-style mosaic with borders, rebuilt to the room's real shape.
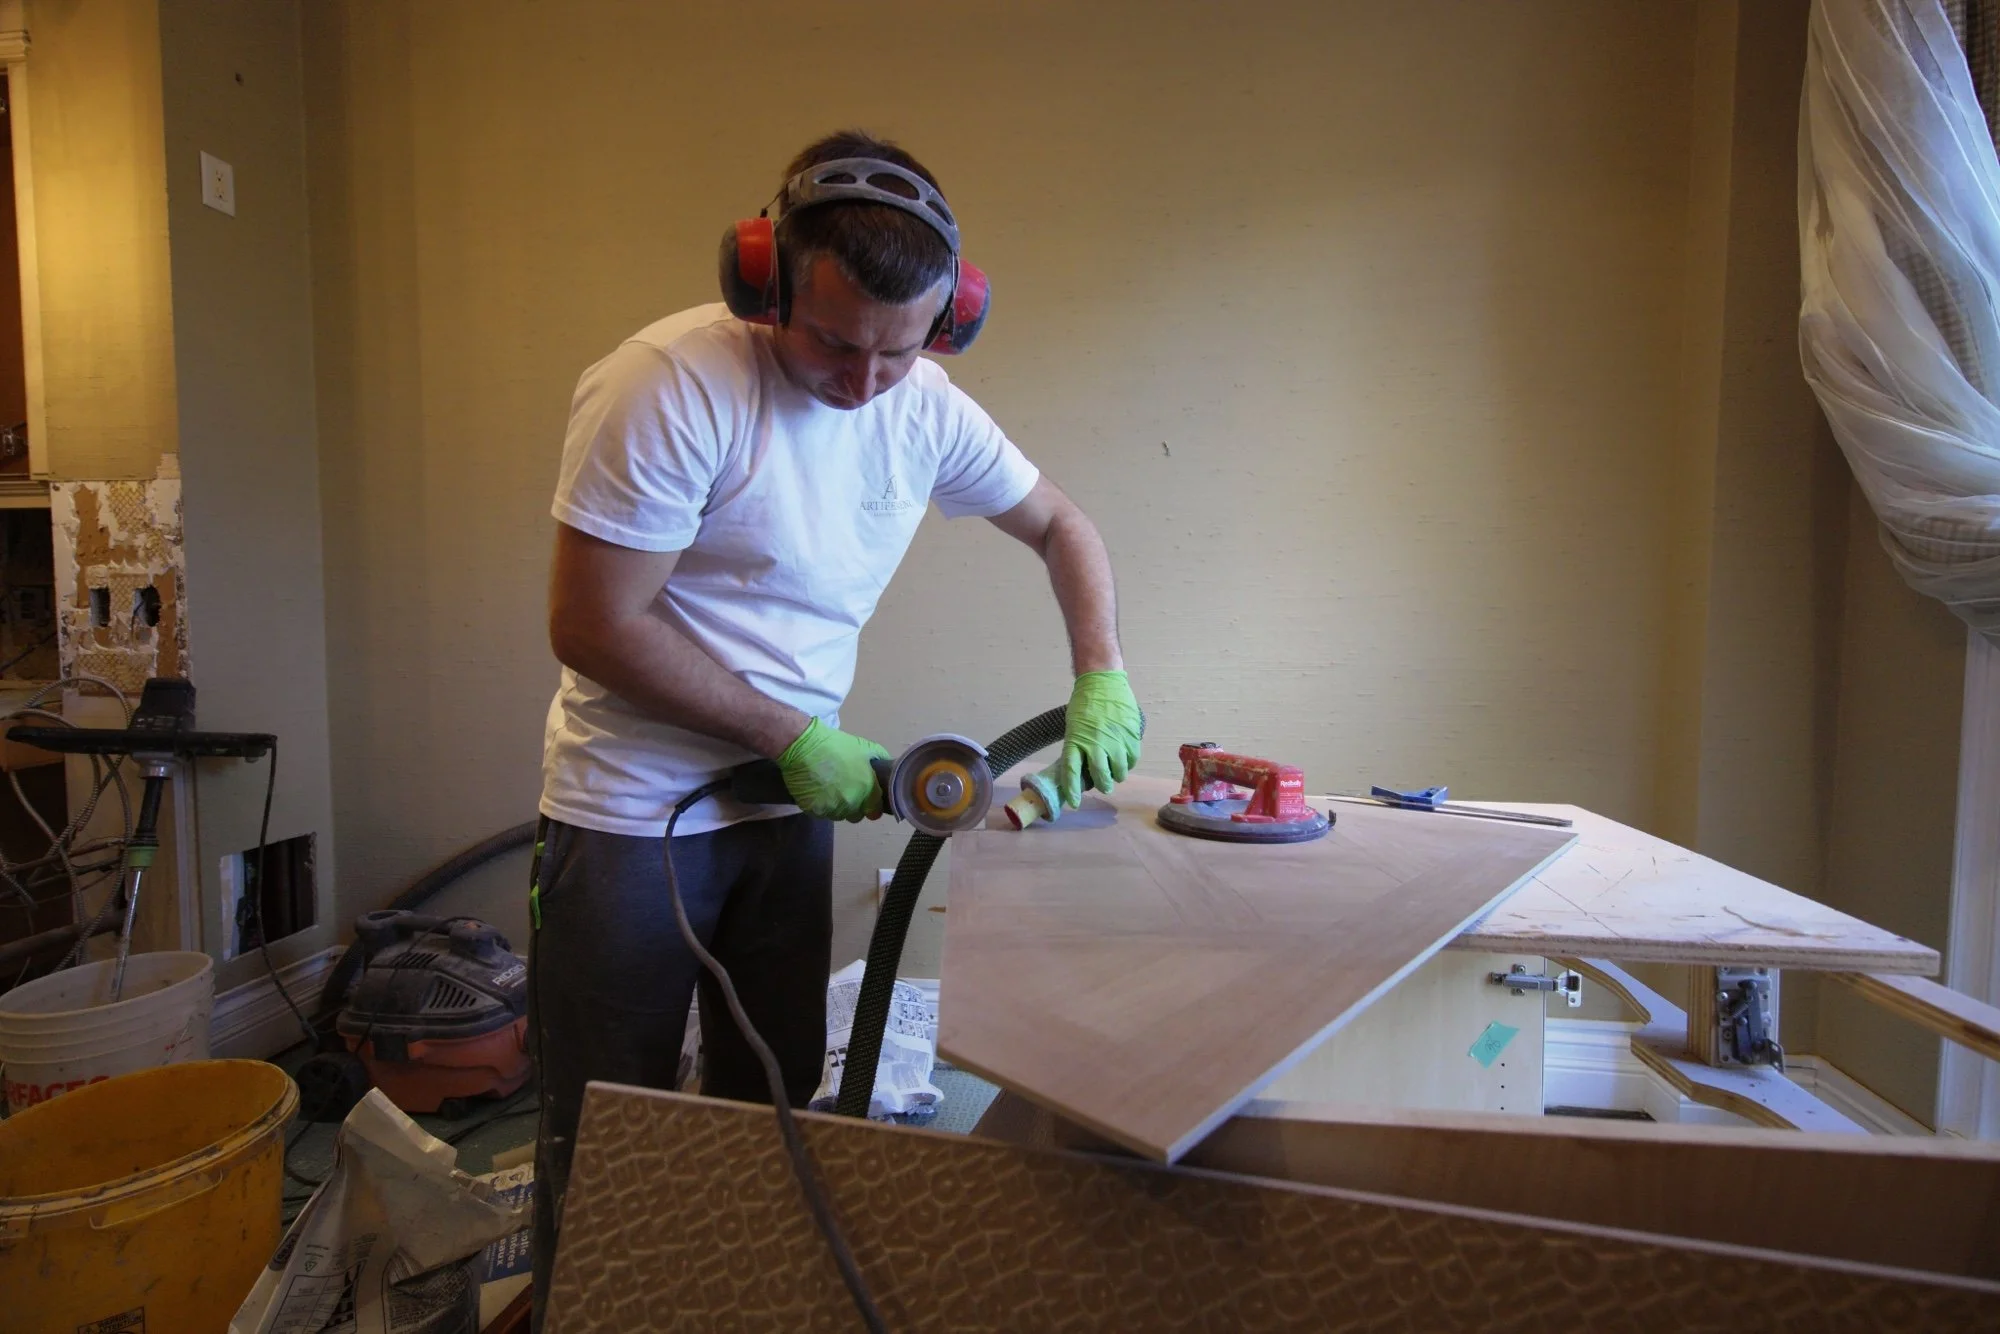
Large-format tile and stone-look slabs, moved with vacuum lifters and set as full sheets for fewer seams.
Kitchen backsplashes, planned with the cabinetry and lighting.
Entry and hallway floors.
Fireplace tile and other feature walls.
Heated floors under bathroom tile.
The parts you never see
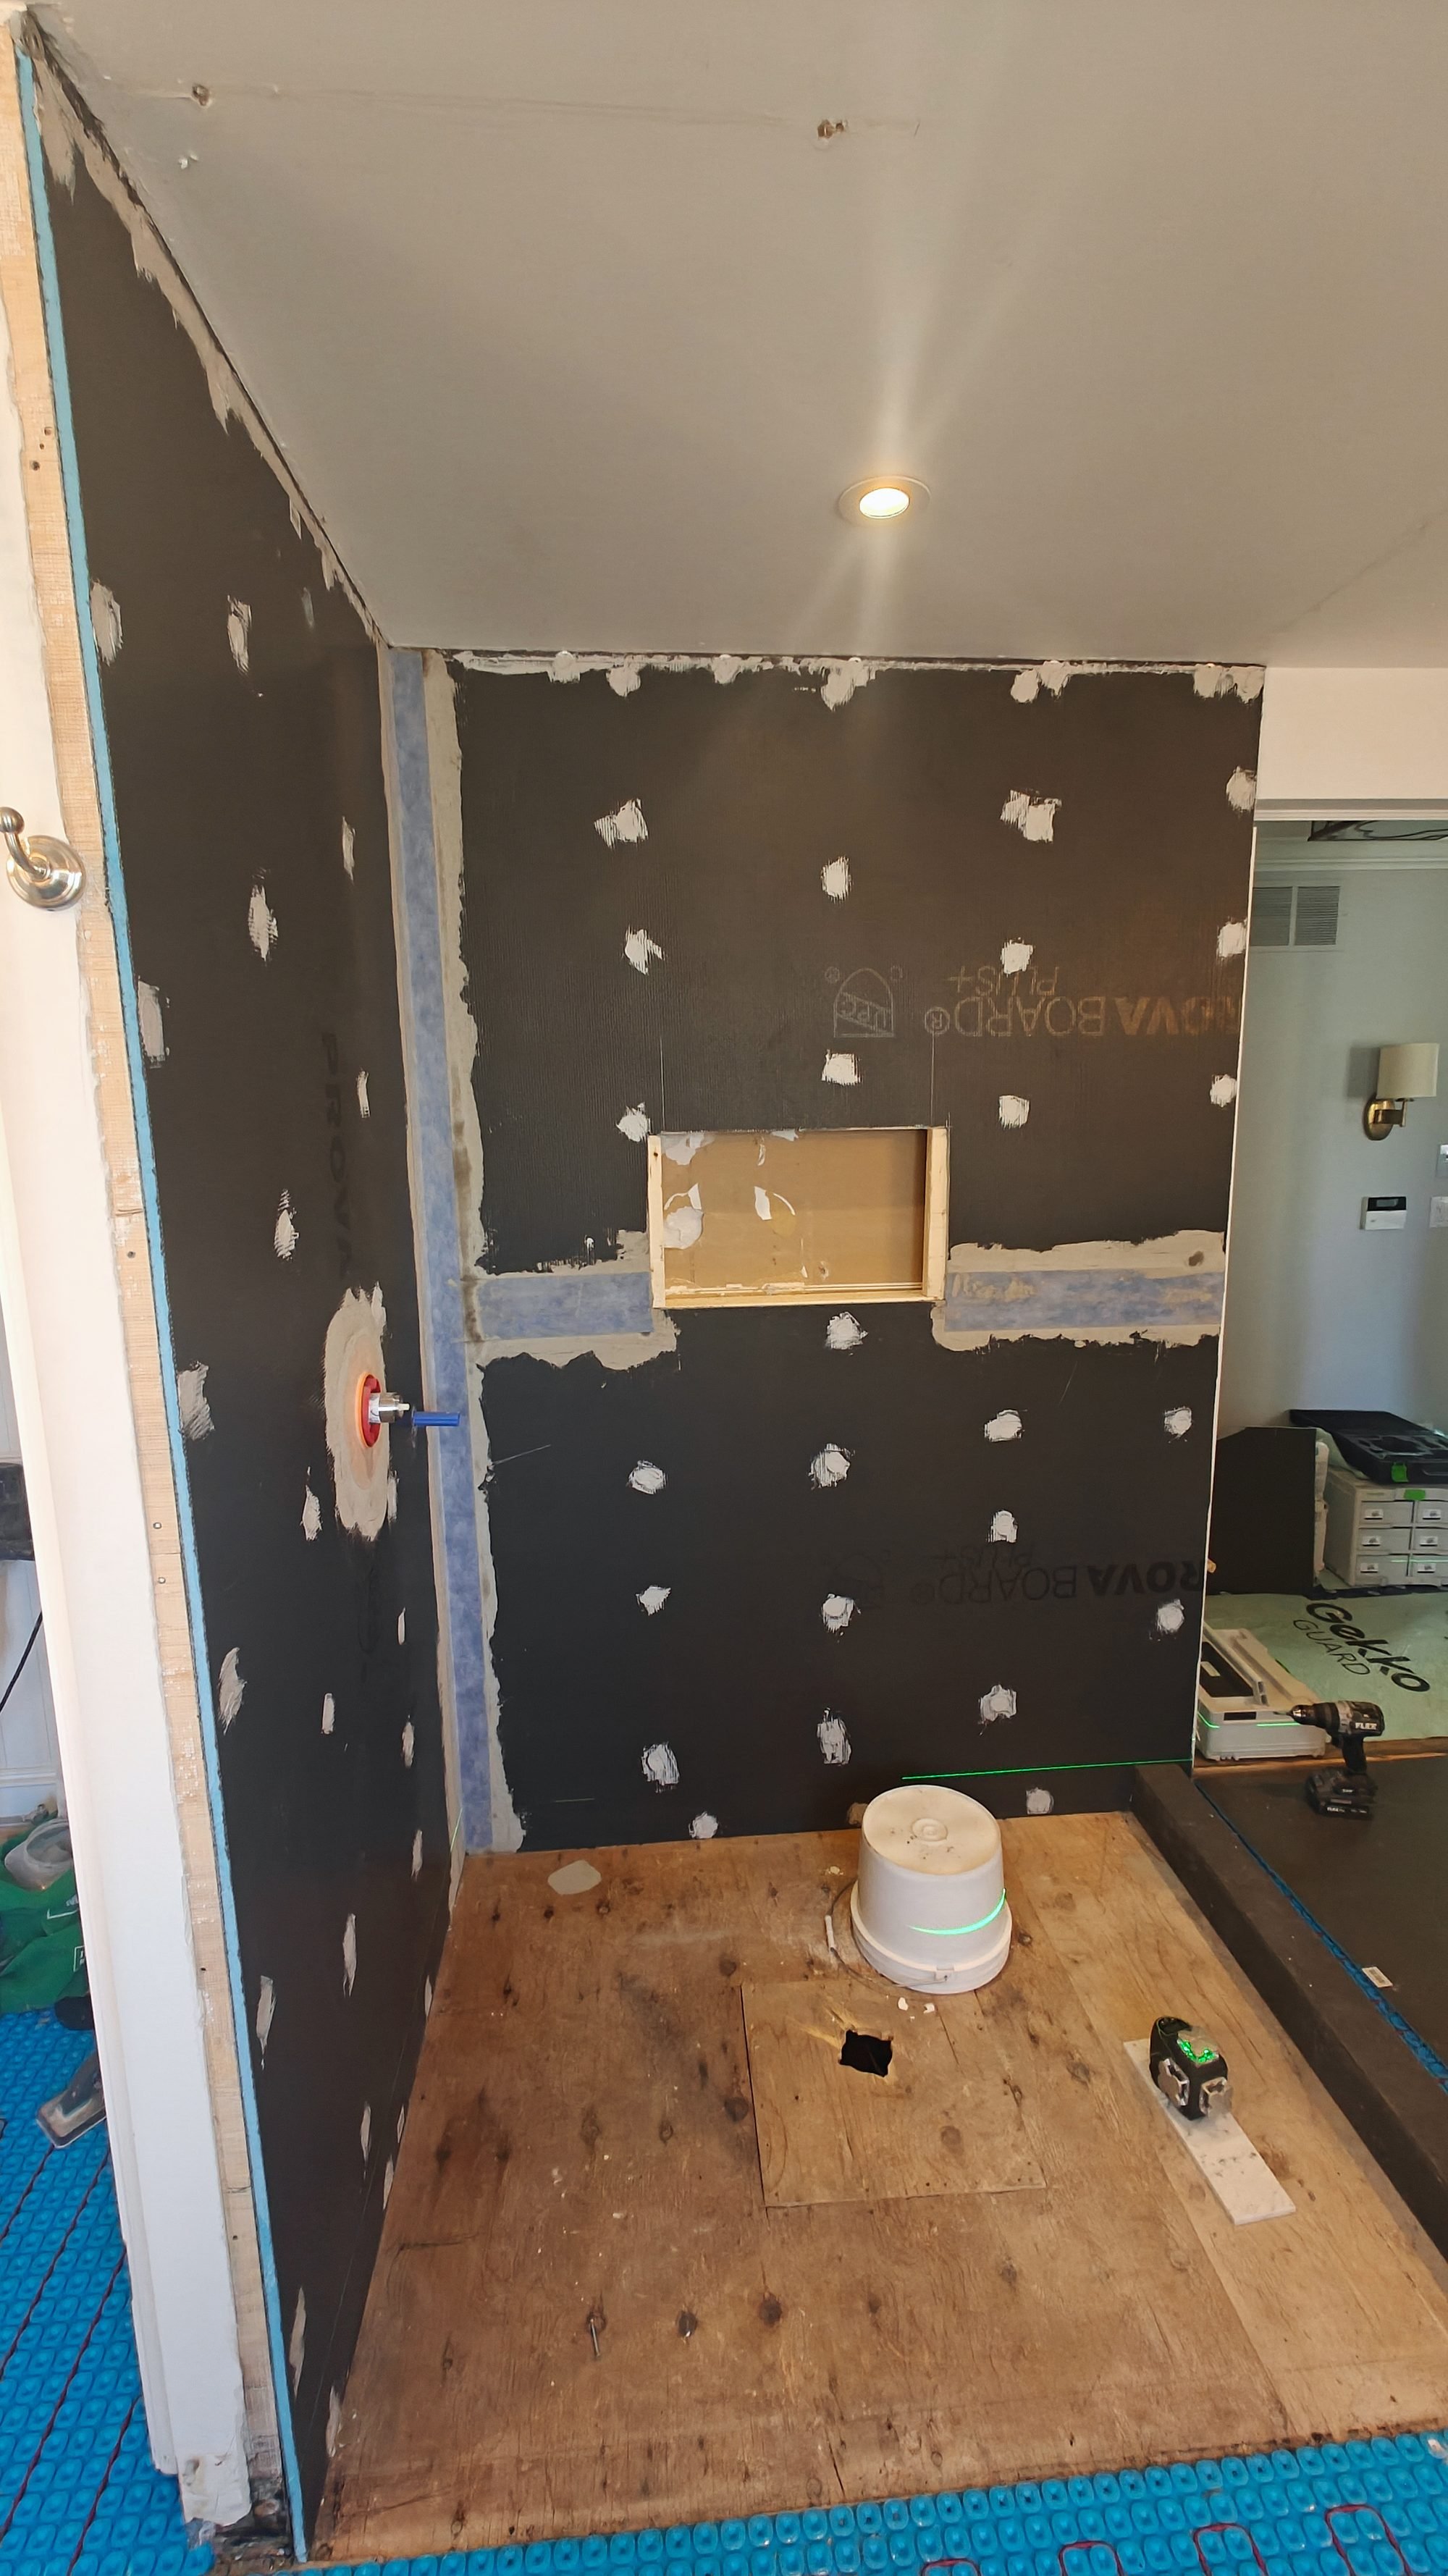
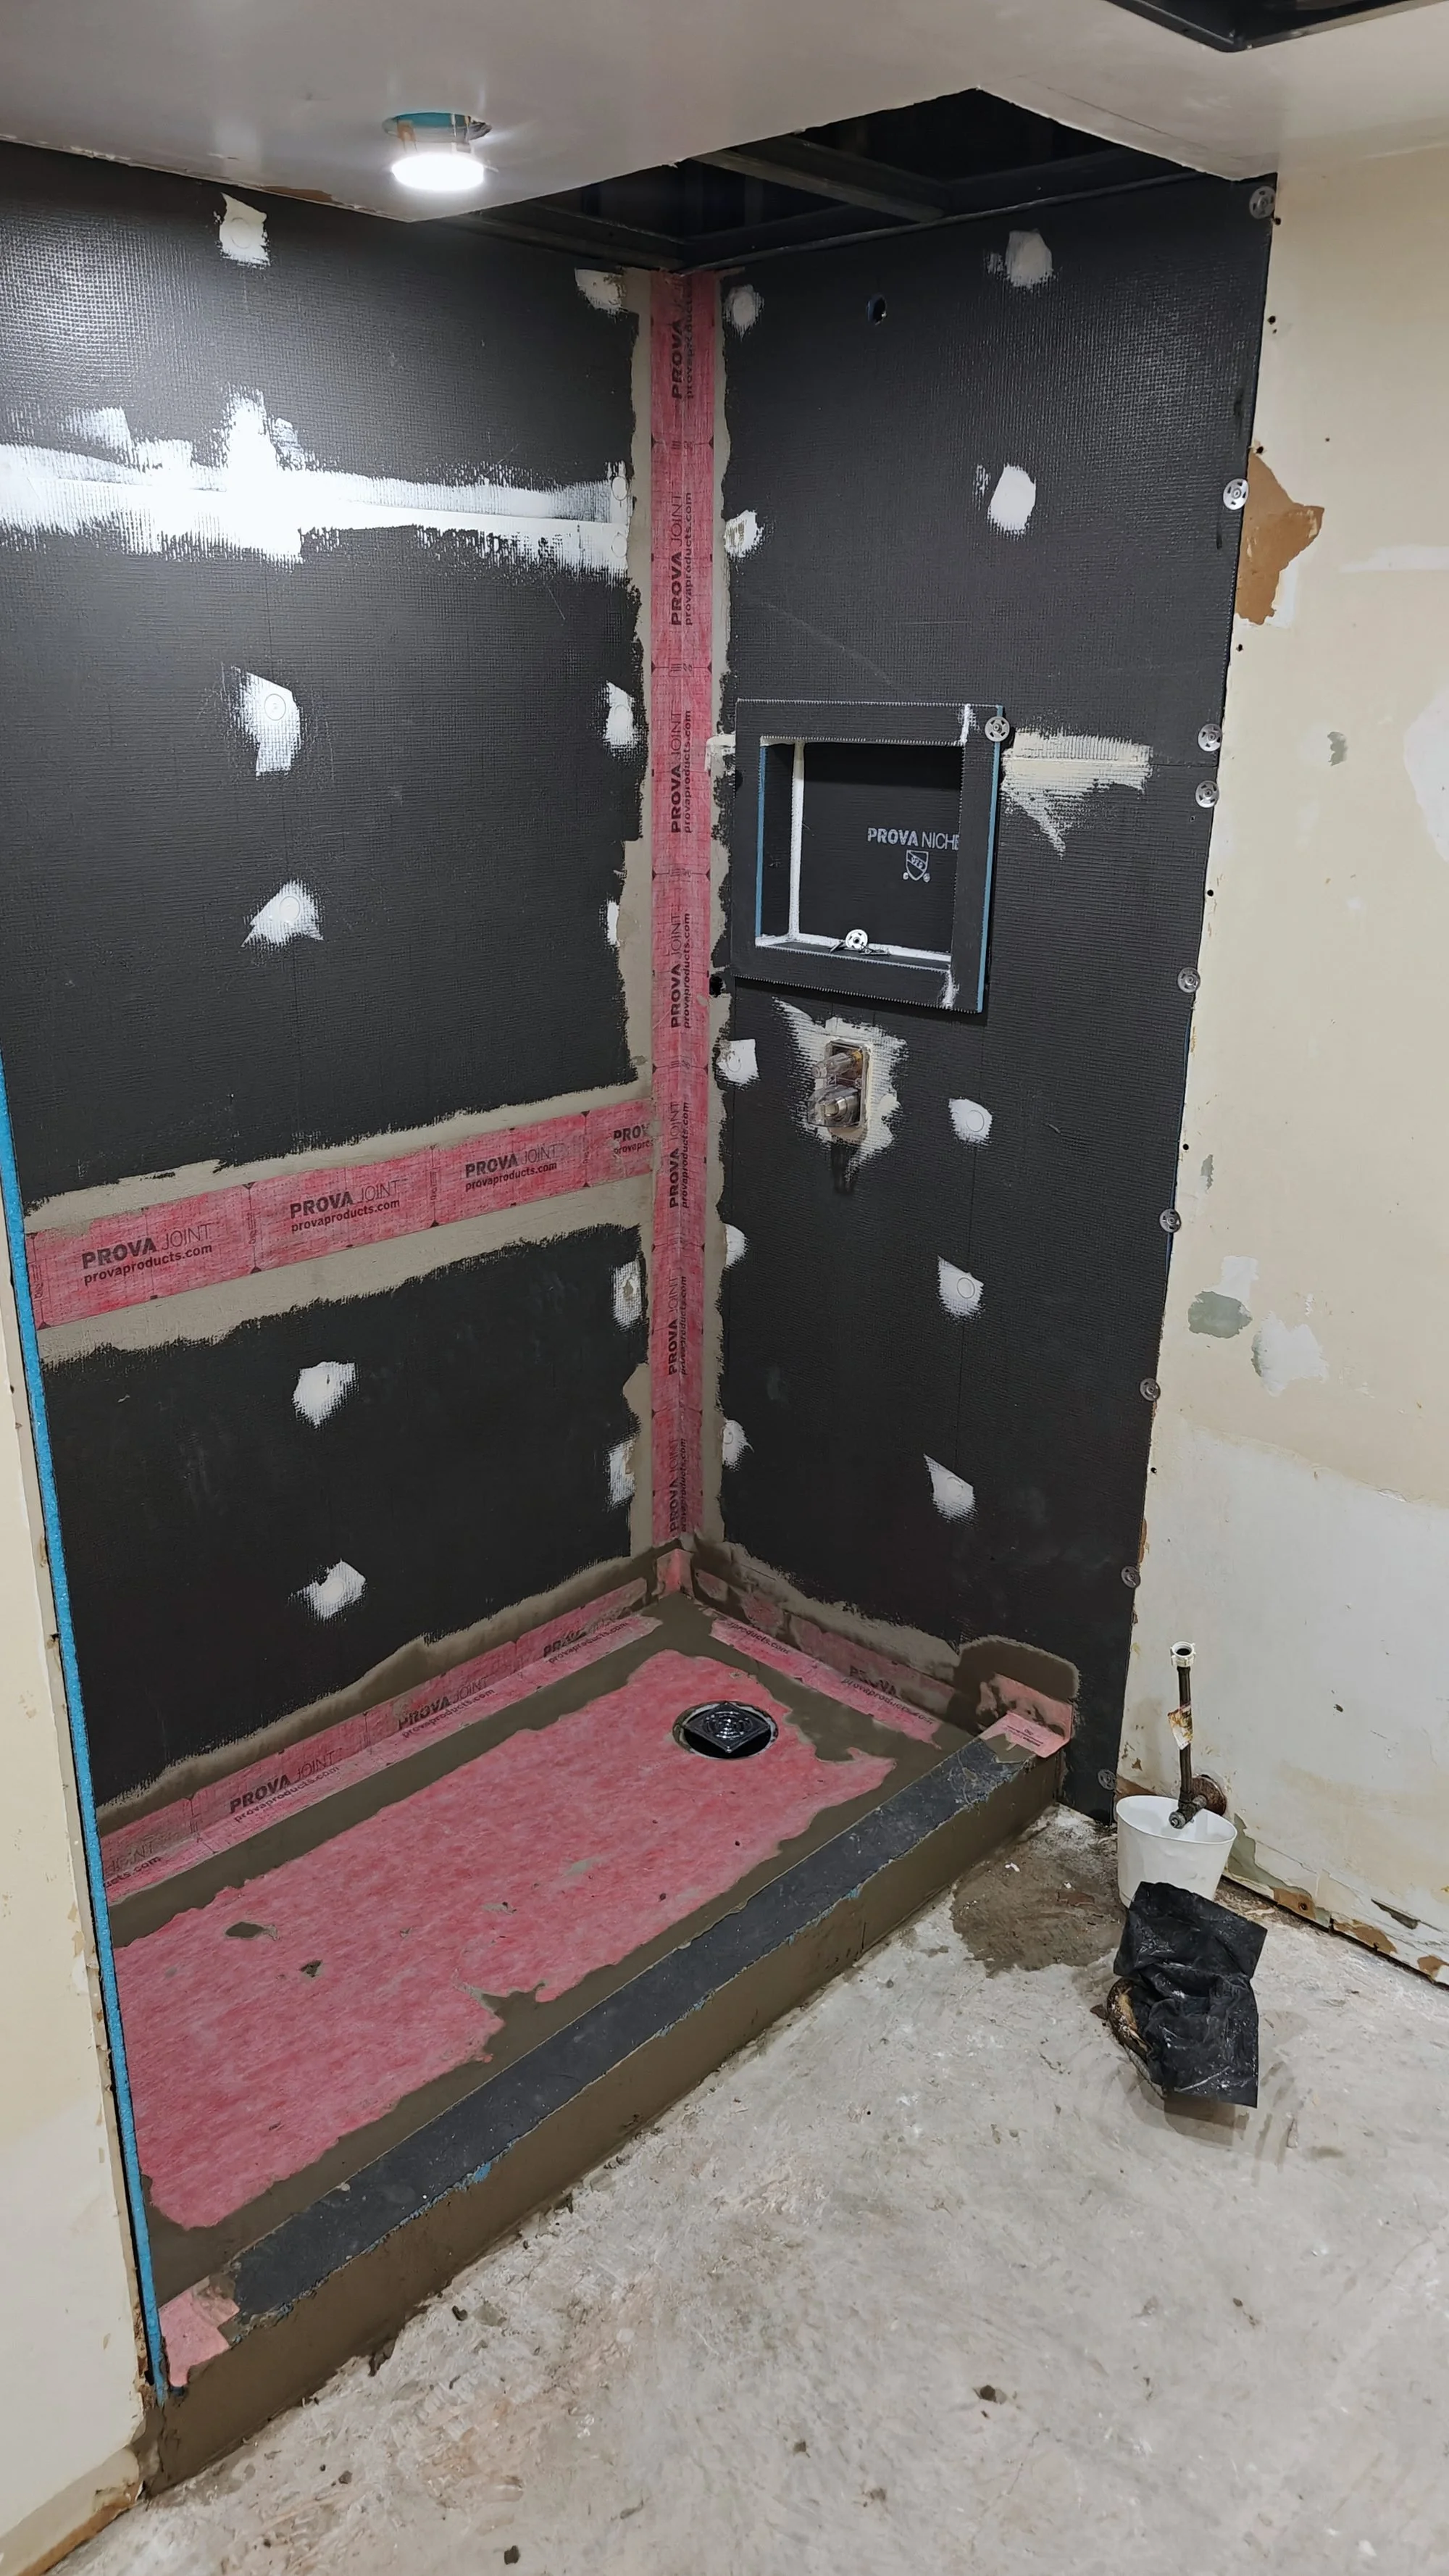
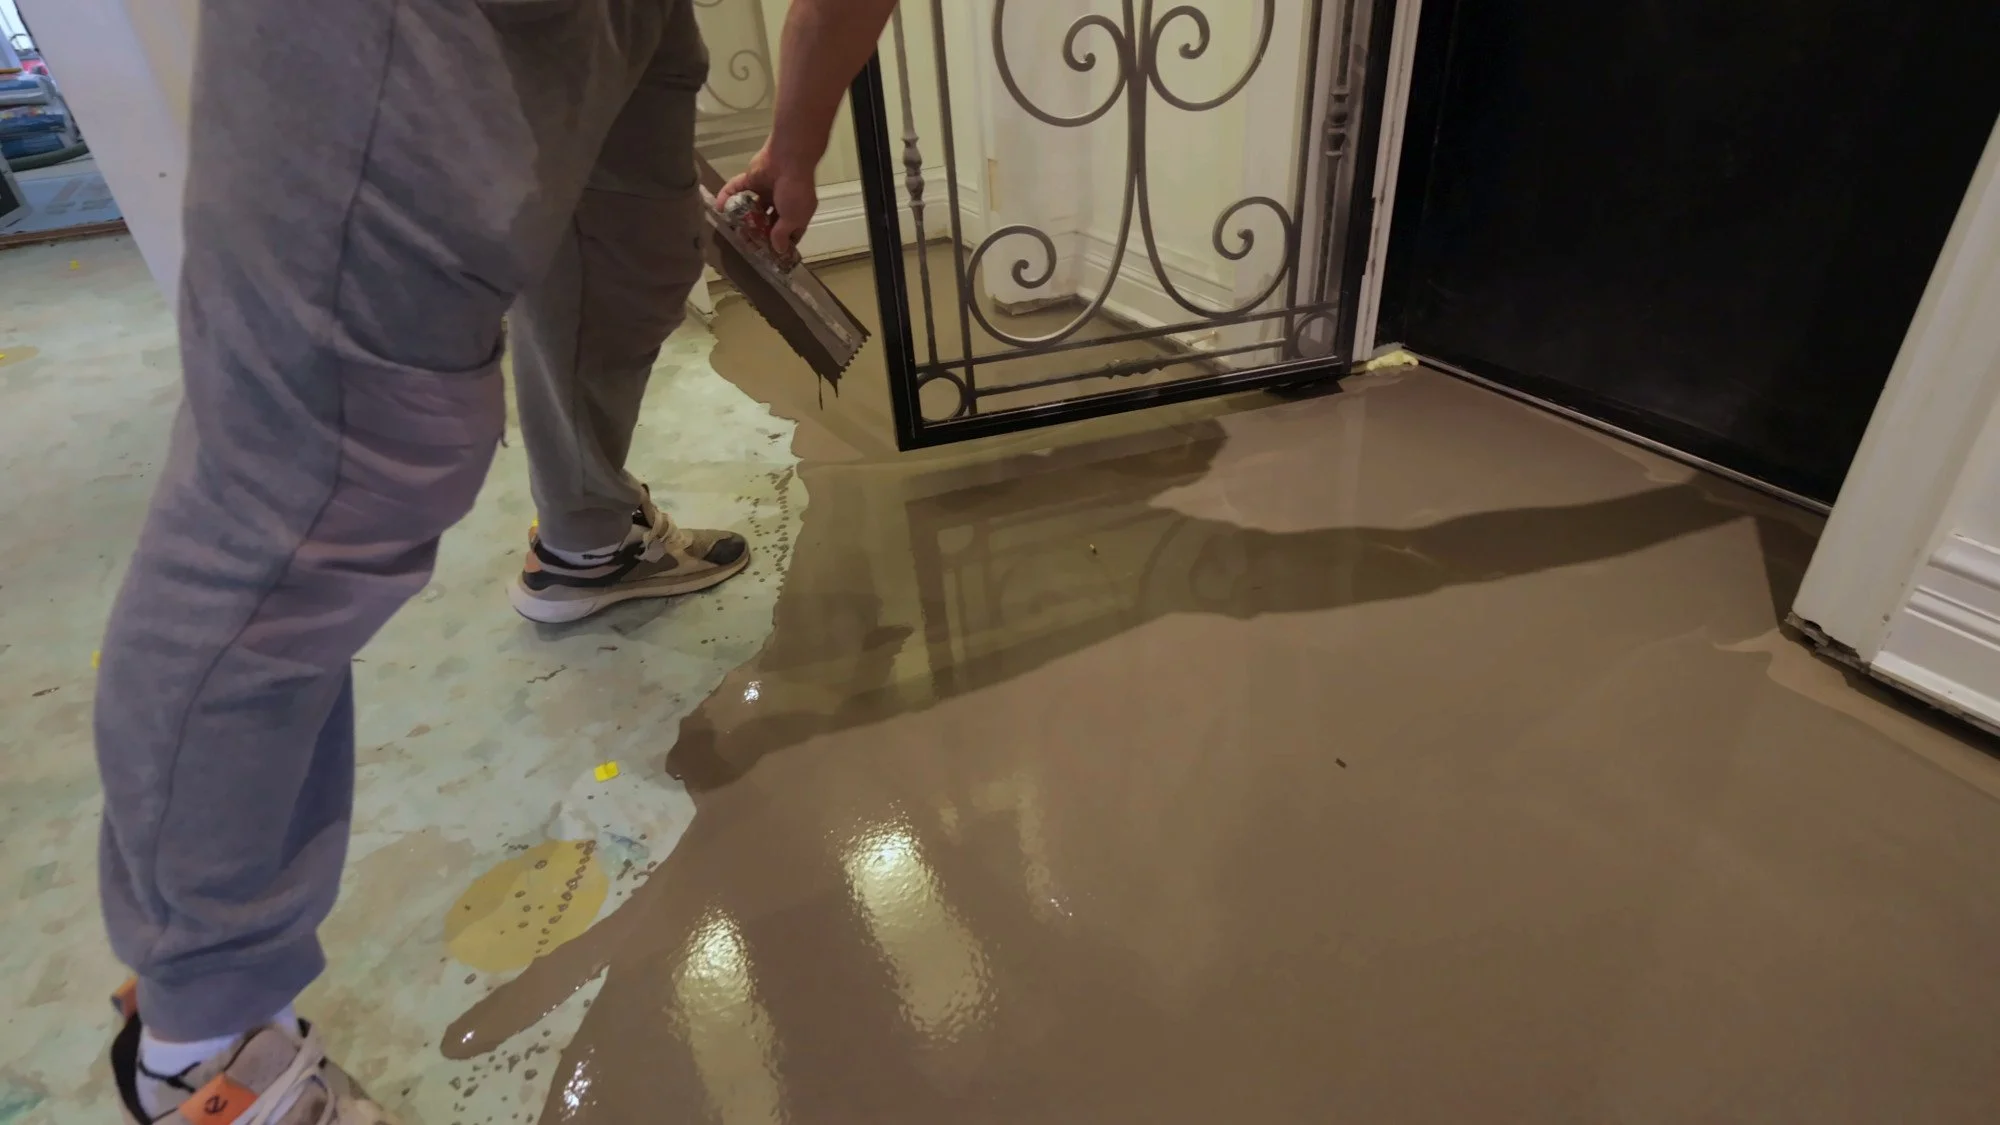
Waterproofing, not caulking. Every wet area gets a full membrane system, with seams, corners, fasteners, penetrations and the drain connection treated as one assembly.
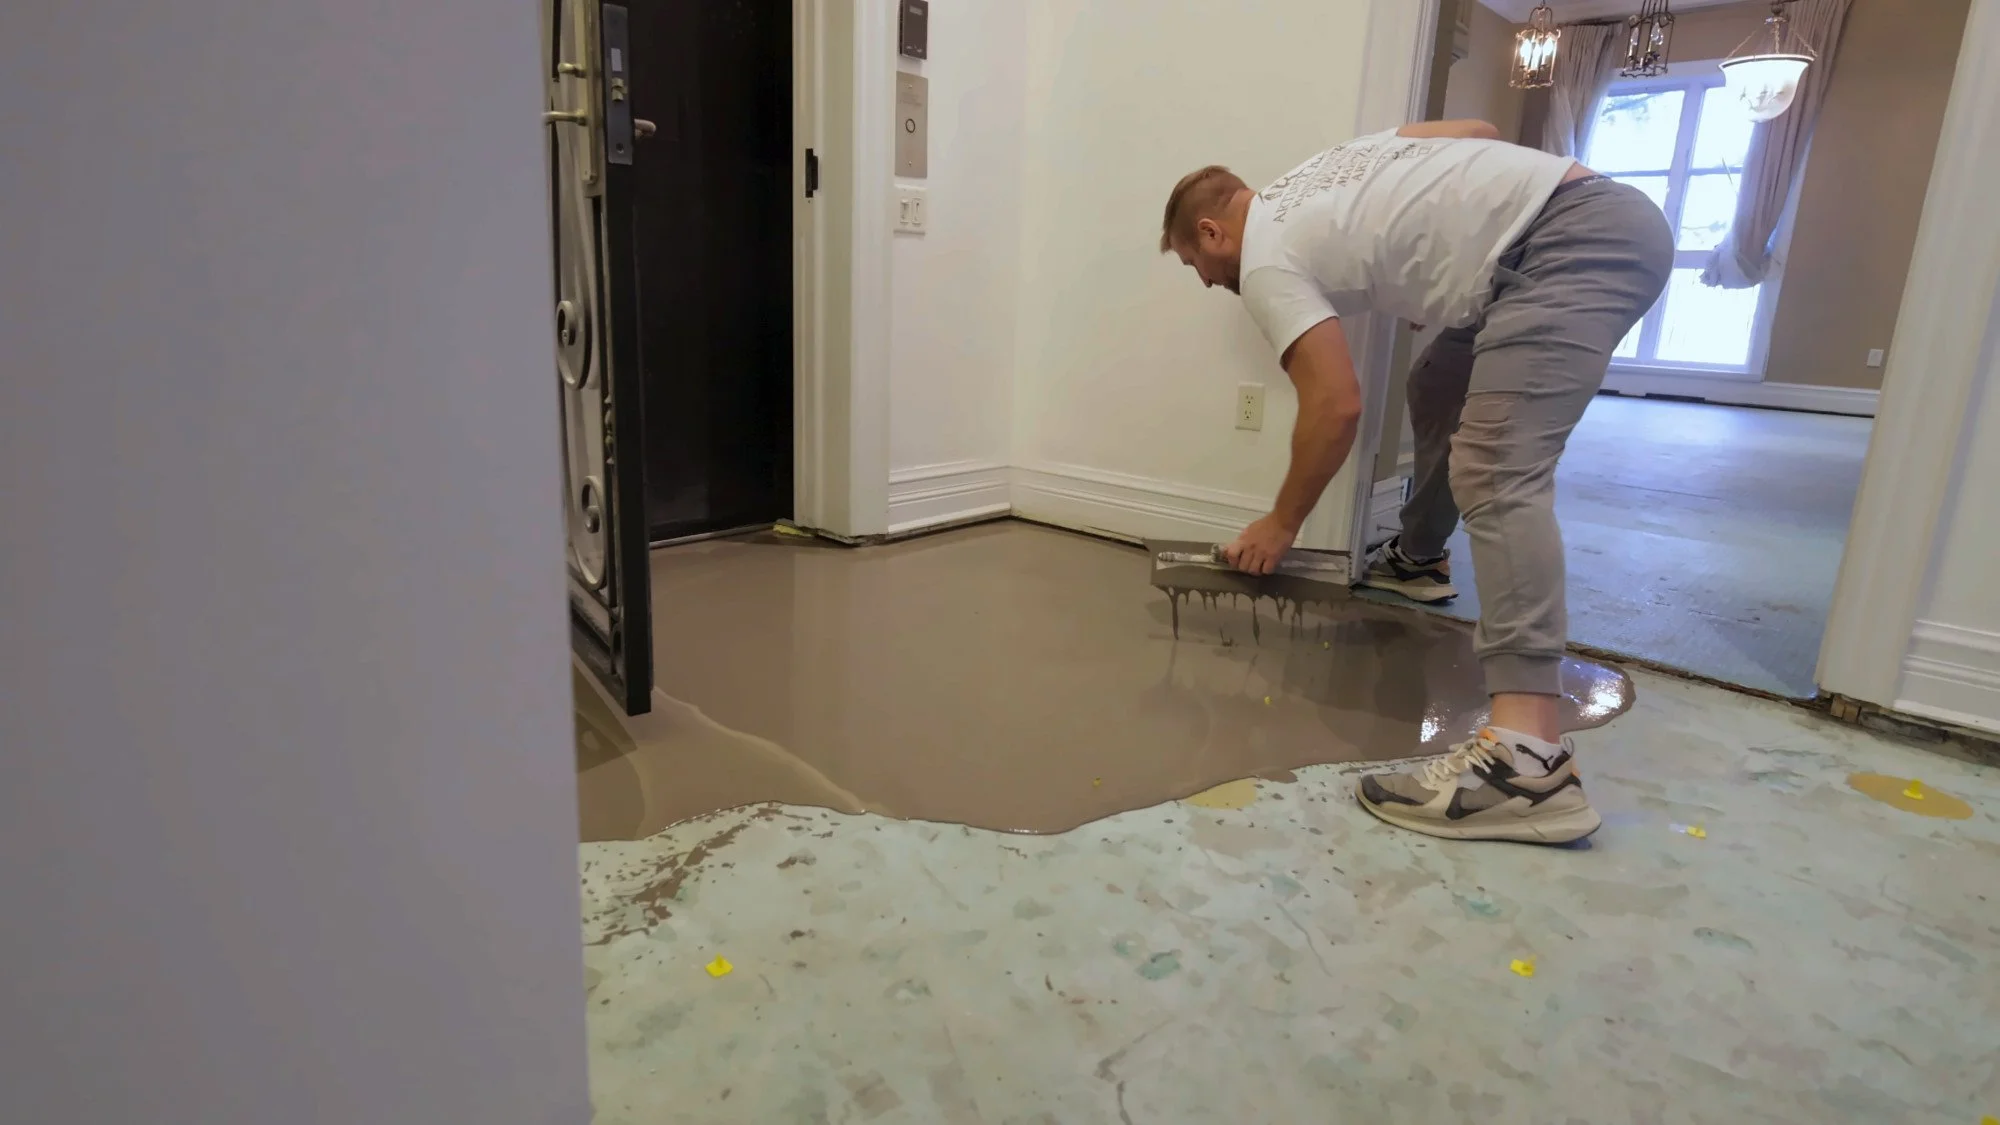
Uncoupling membrane on floors, to manage movement between the structure and the tile.
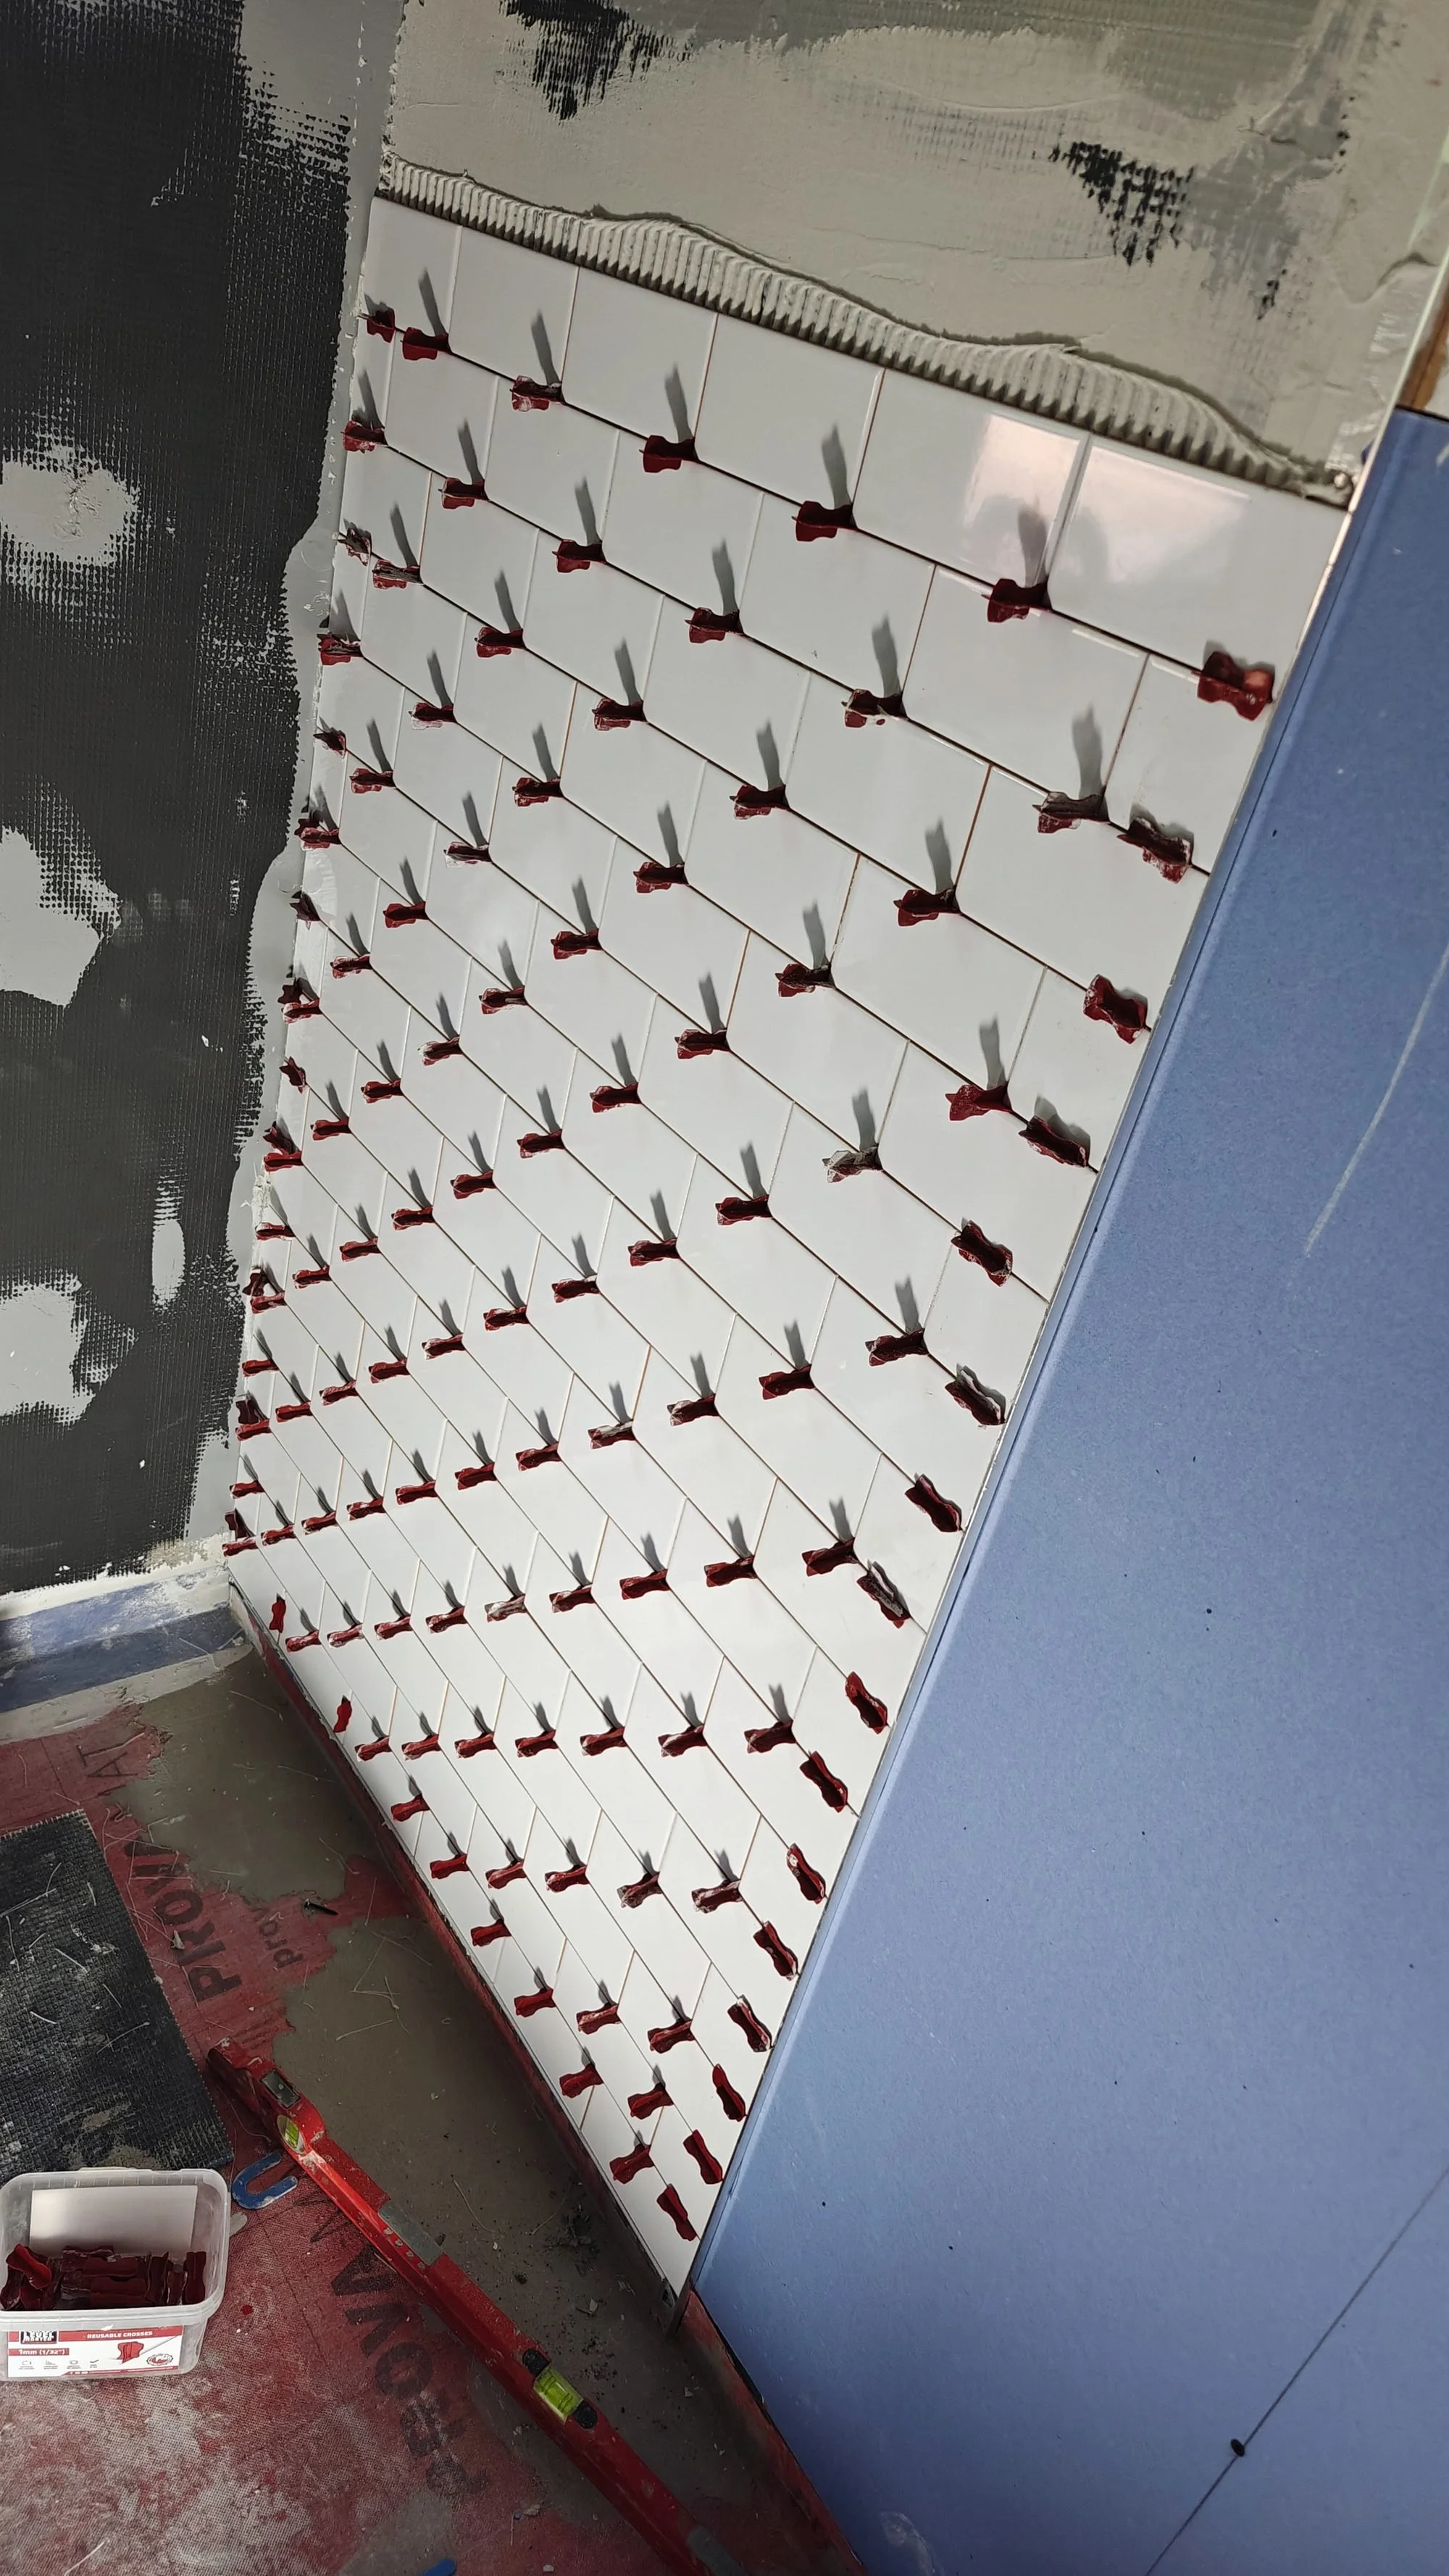
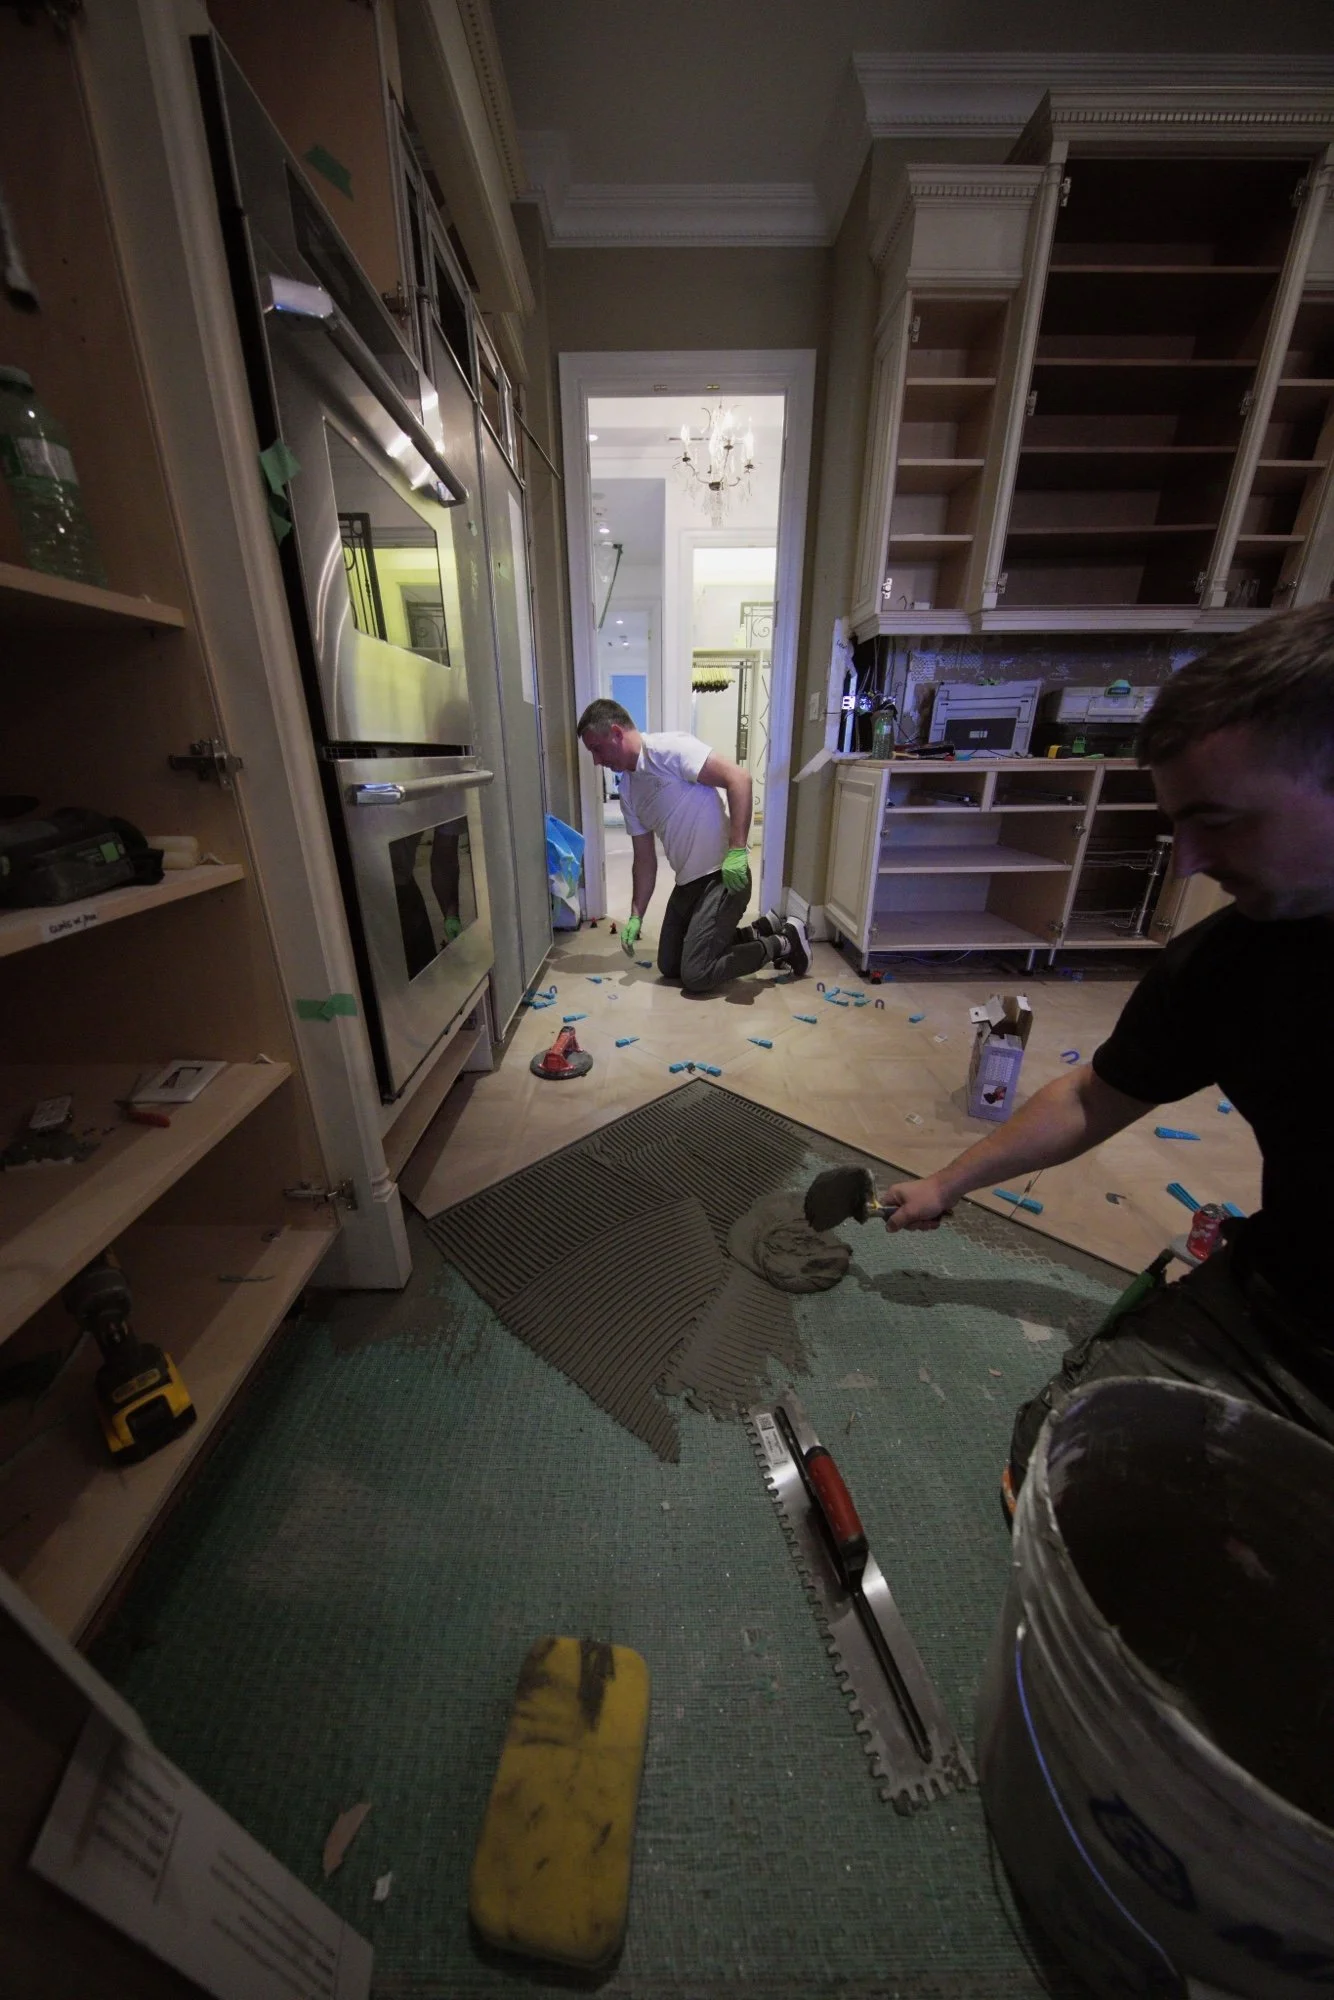
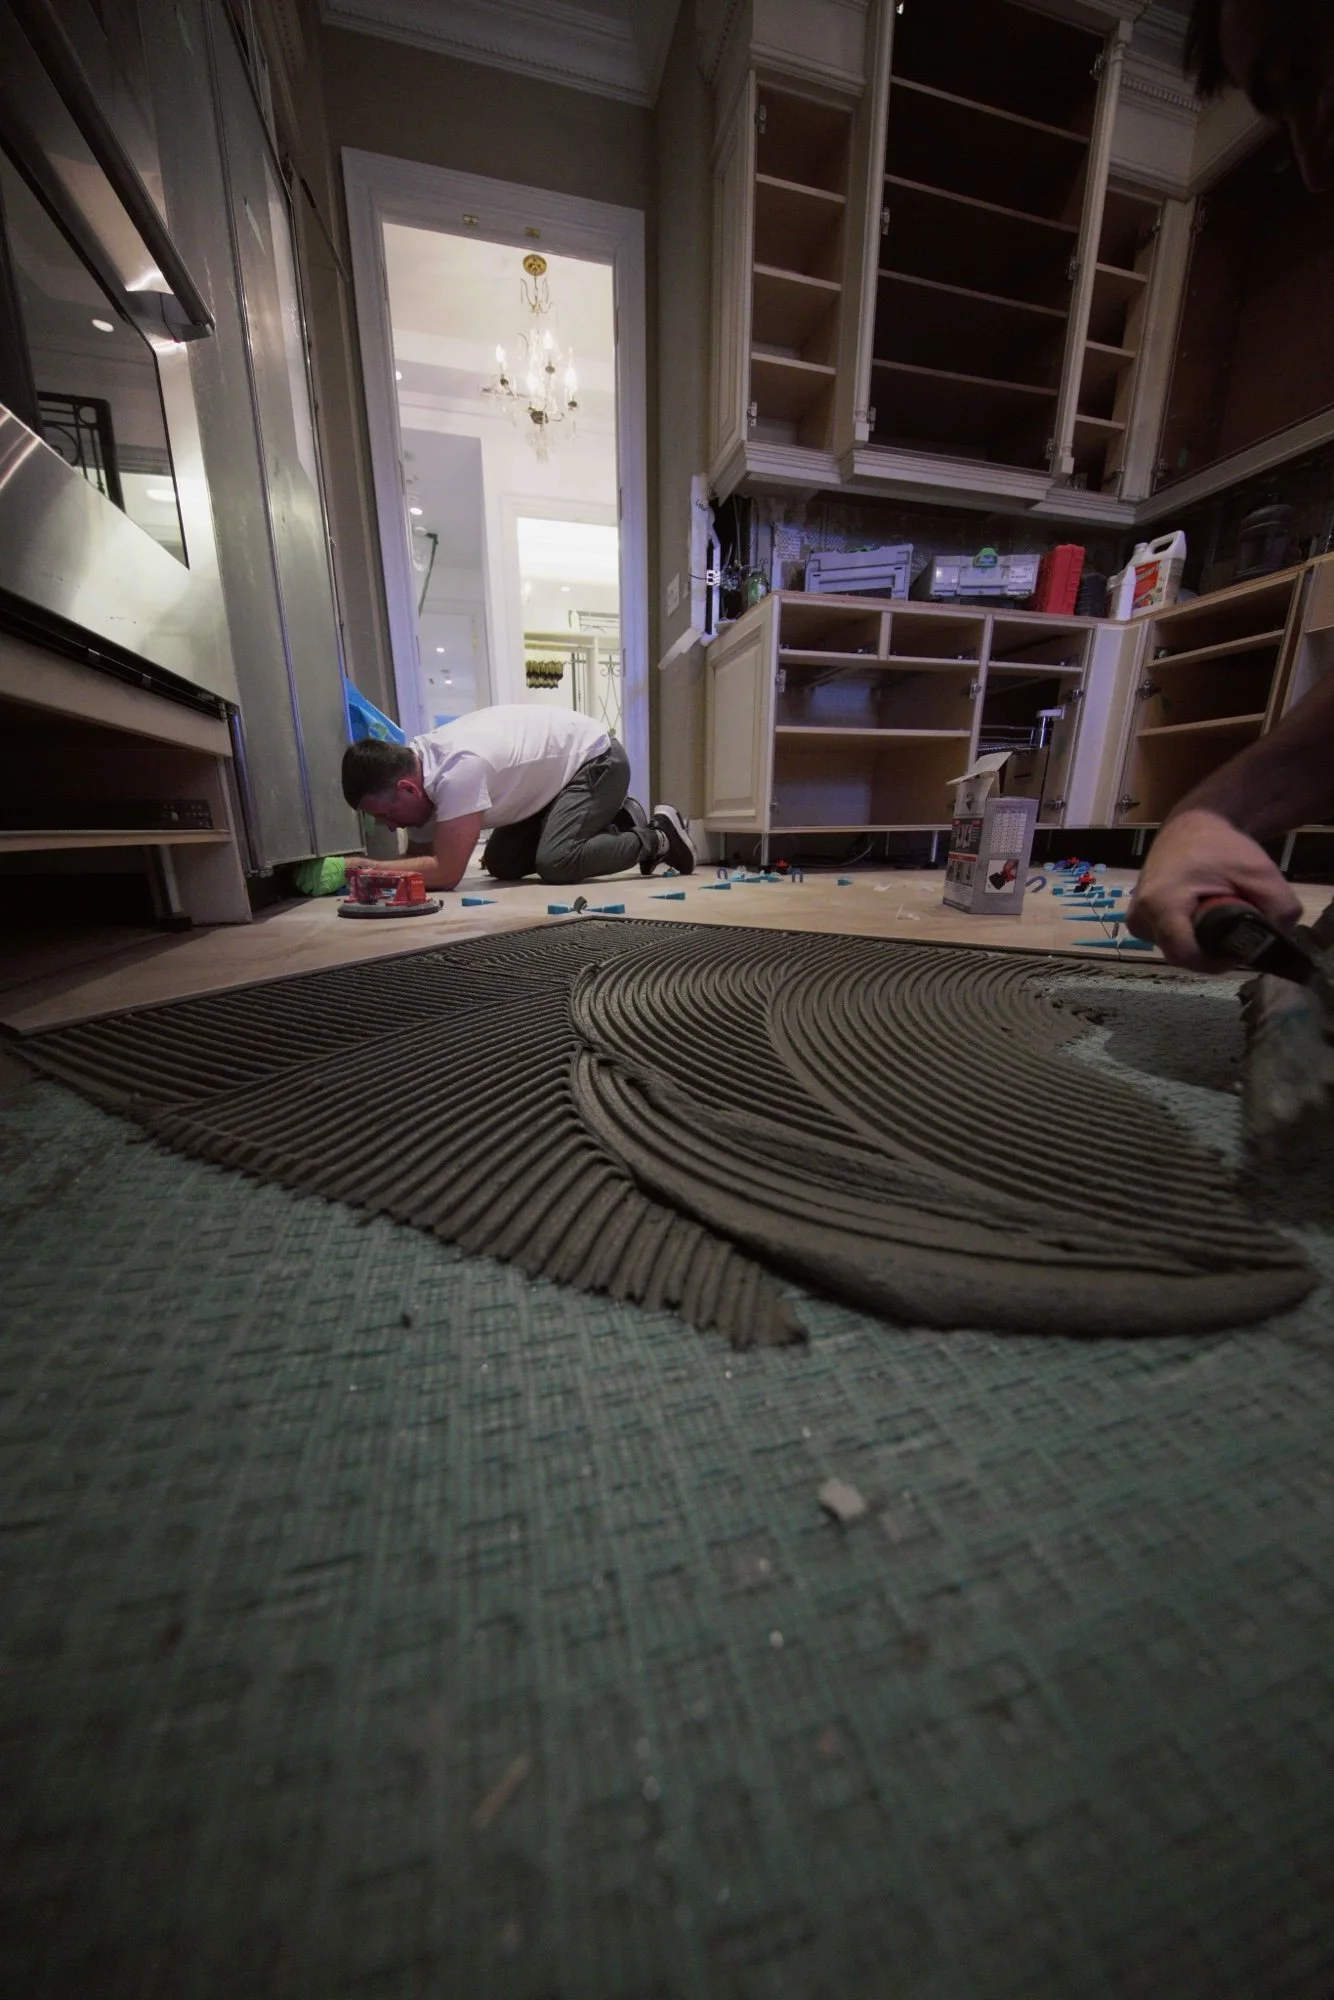
Mechanical levelling on every install, so tile edges sit flush. Lippage you can catch a fingernail on does not leave our sites.
Documented before it is covered. We photograph these stages so you have a record of the work. See what proper waterproofing looks like.
How tile installation runs
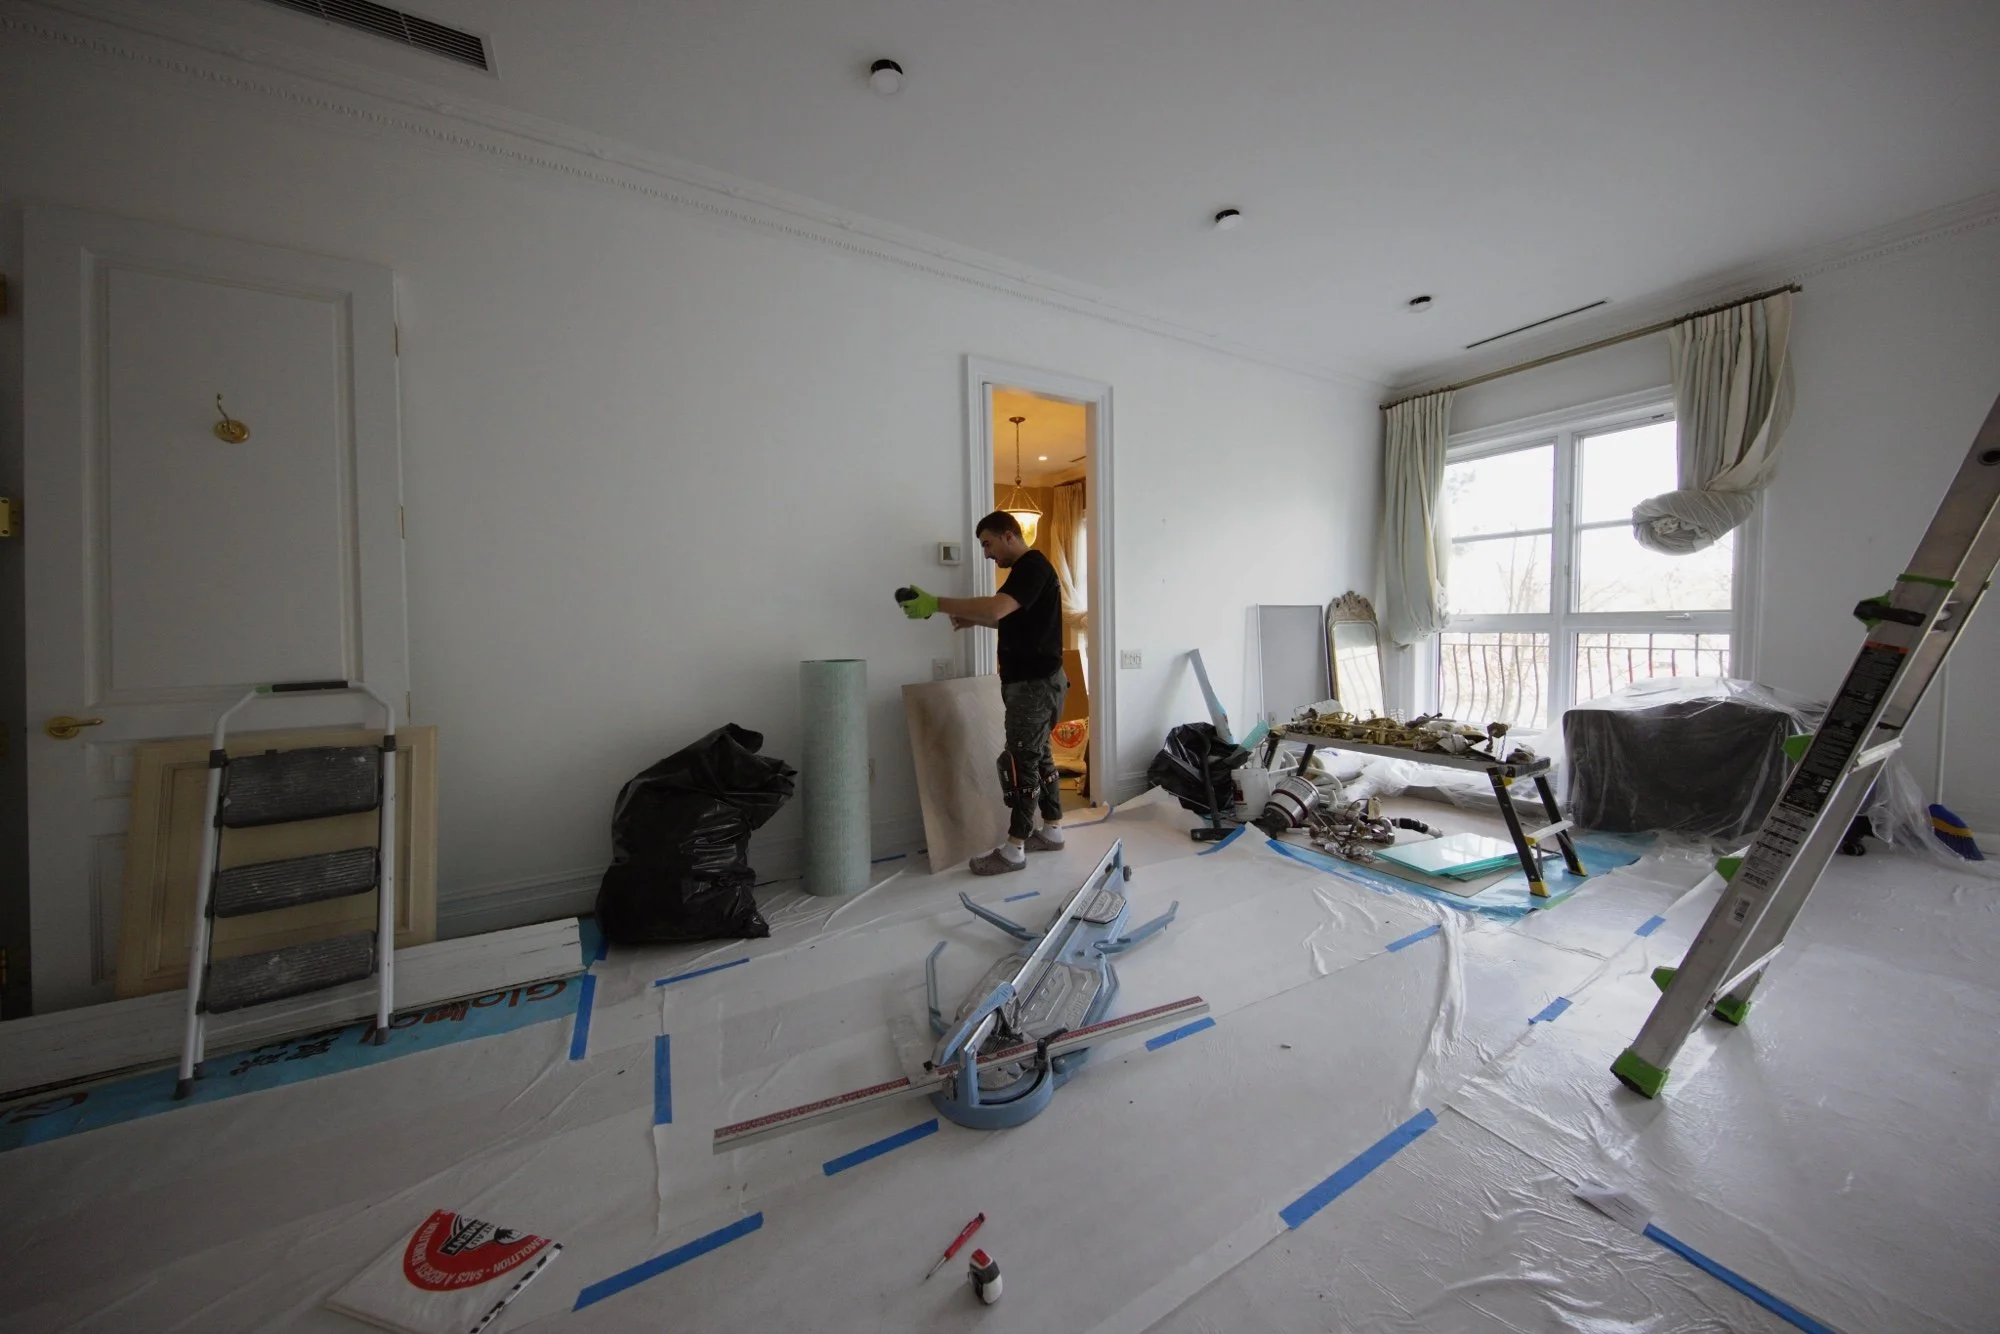
Walkthrough. Nazar visits, measures and looks at the walls and floor the tile will go on.
Fixed written scope. You receive a written scope with materials, timeline and price. The number you approve is the number you pay.
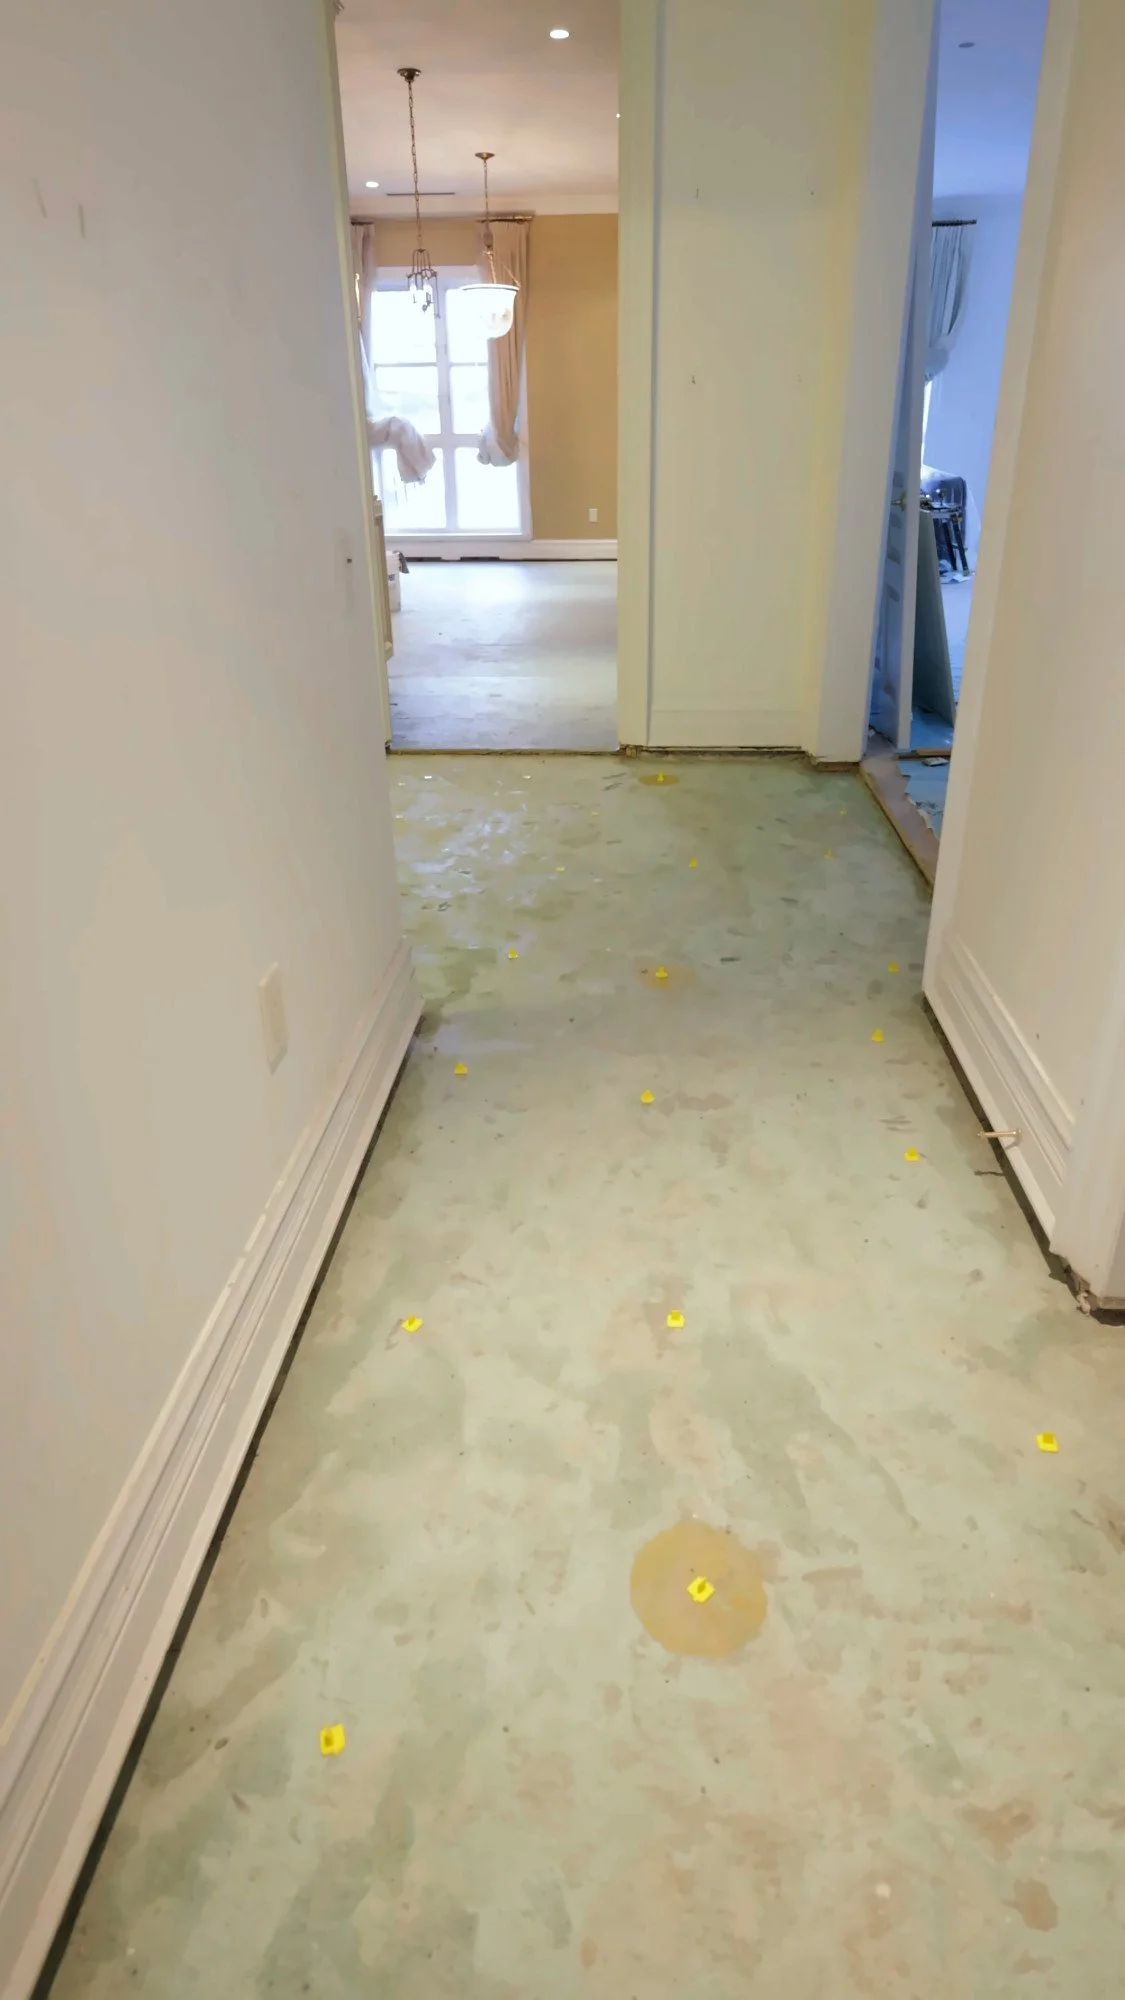
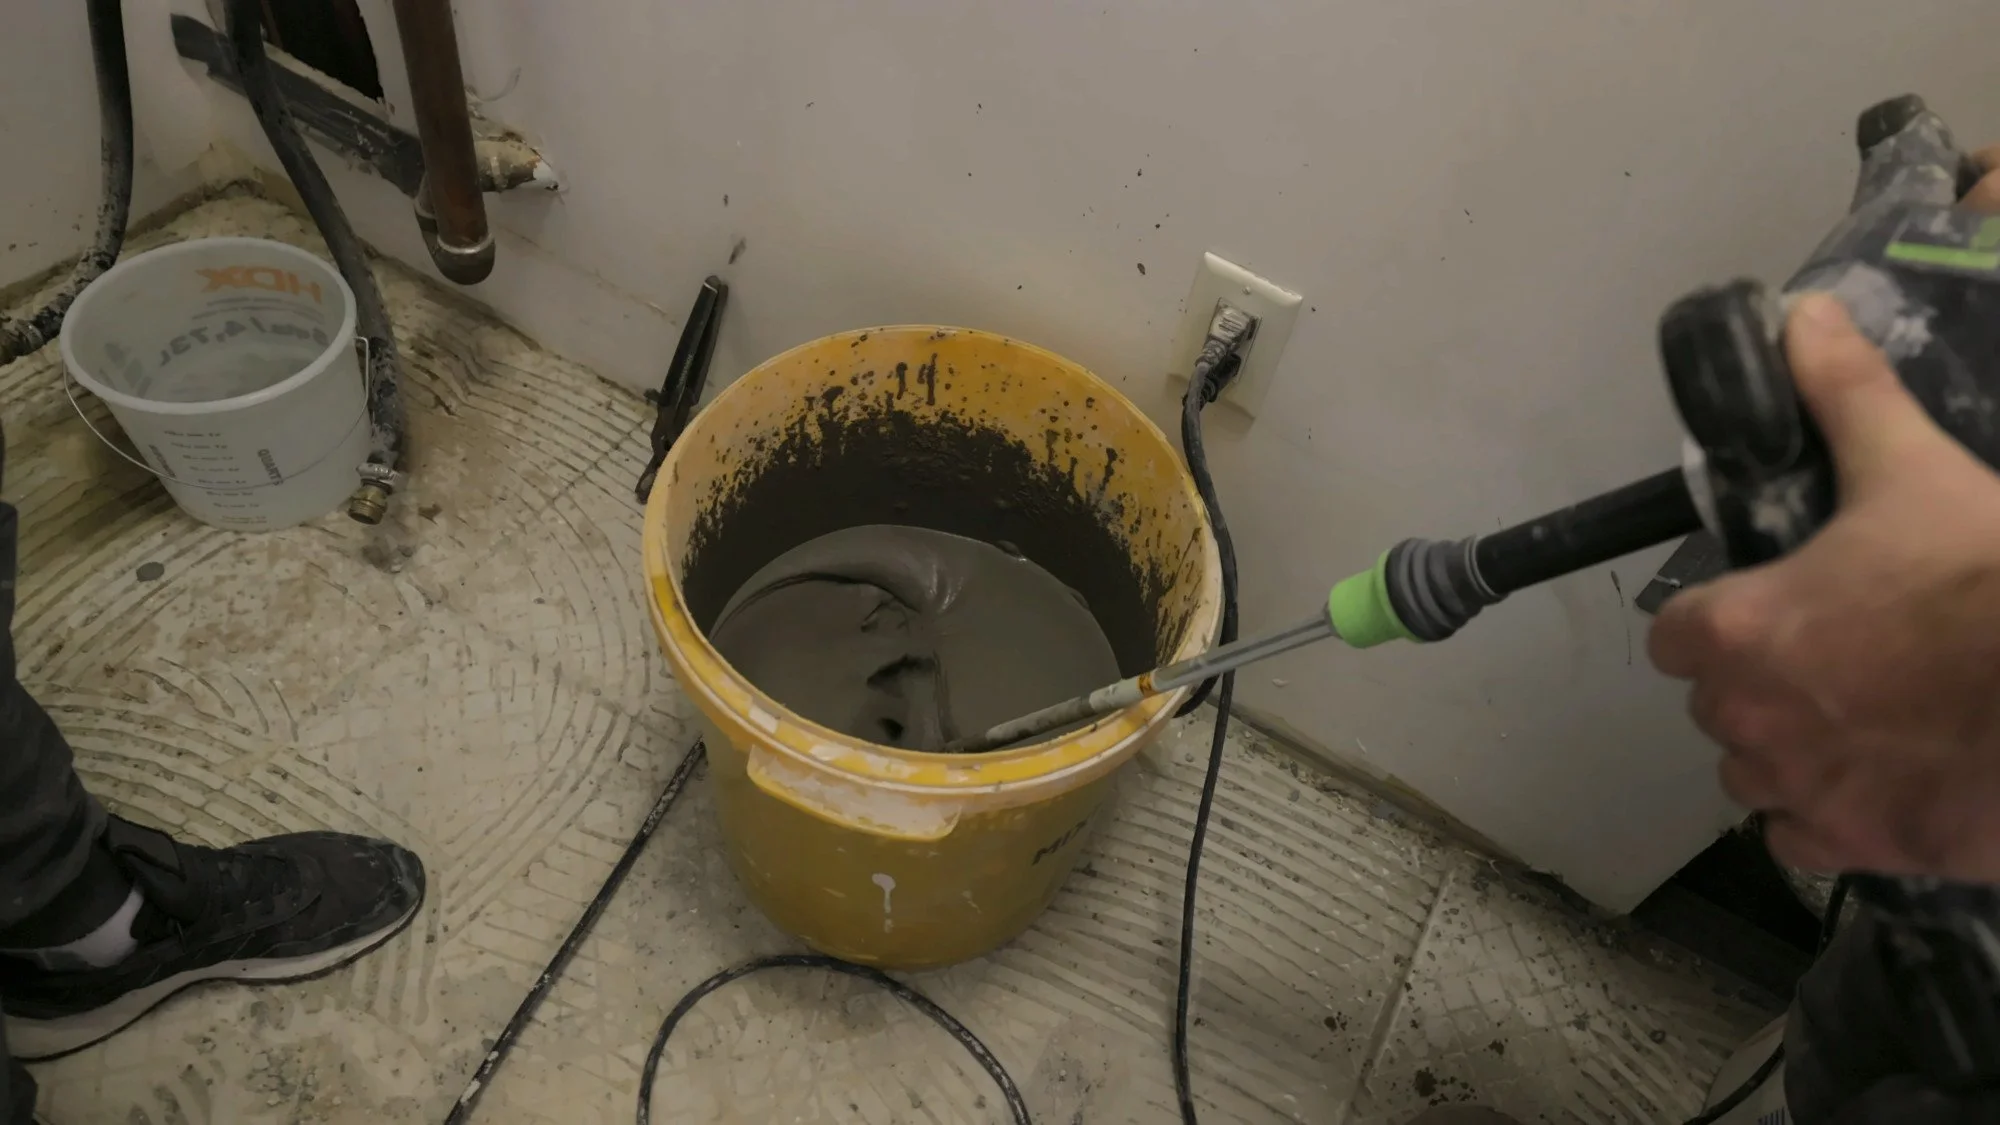
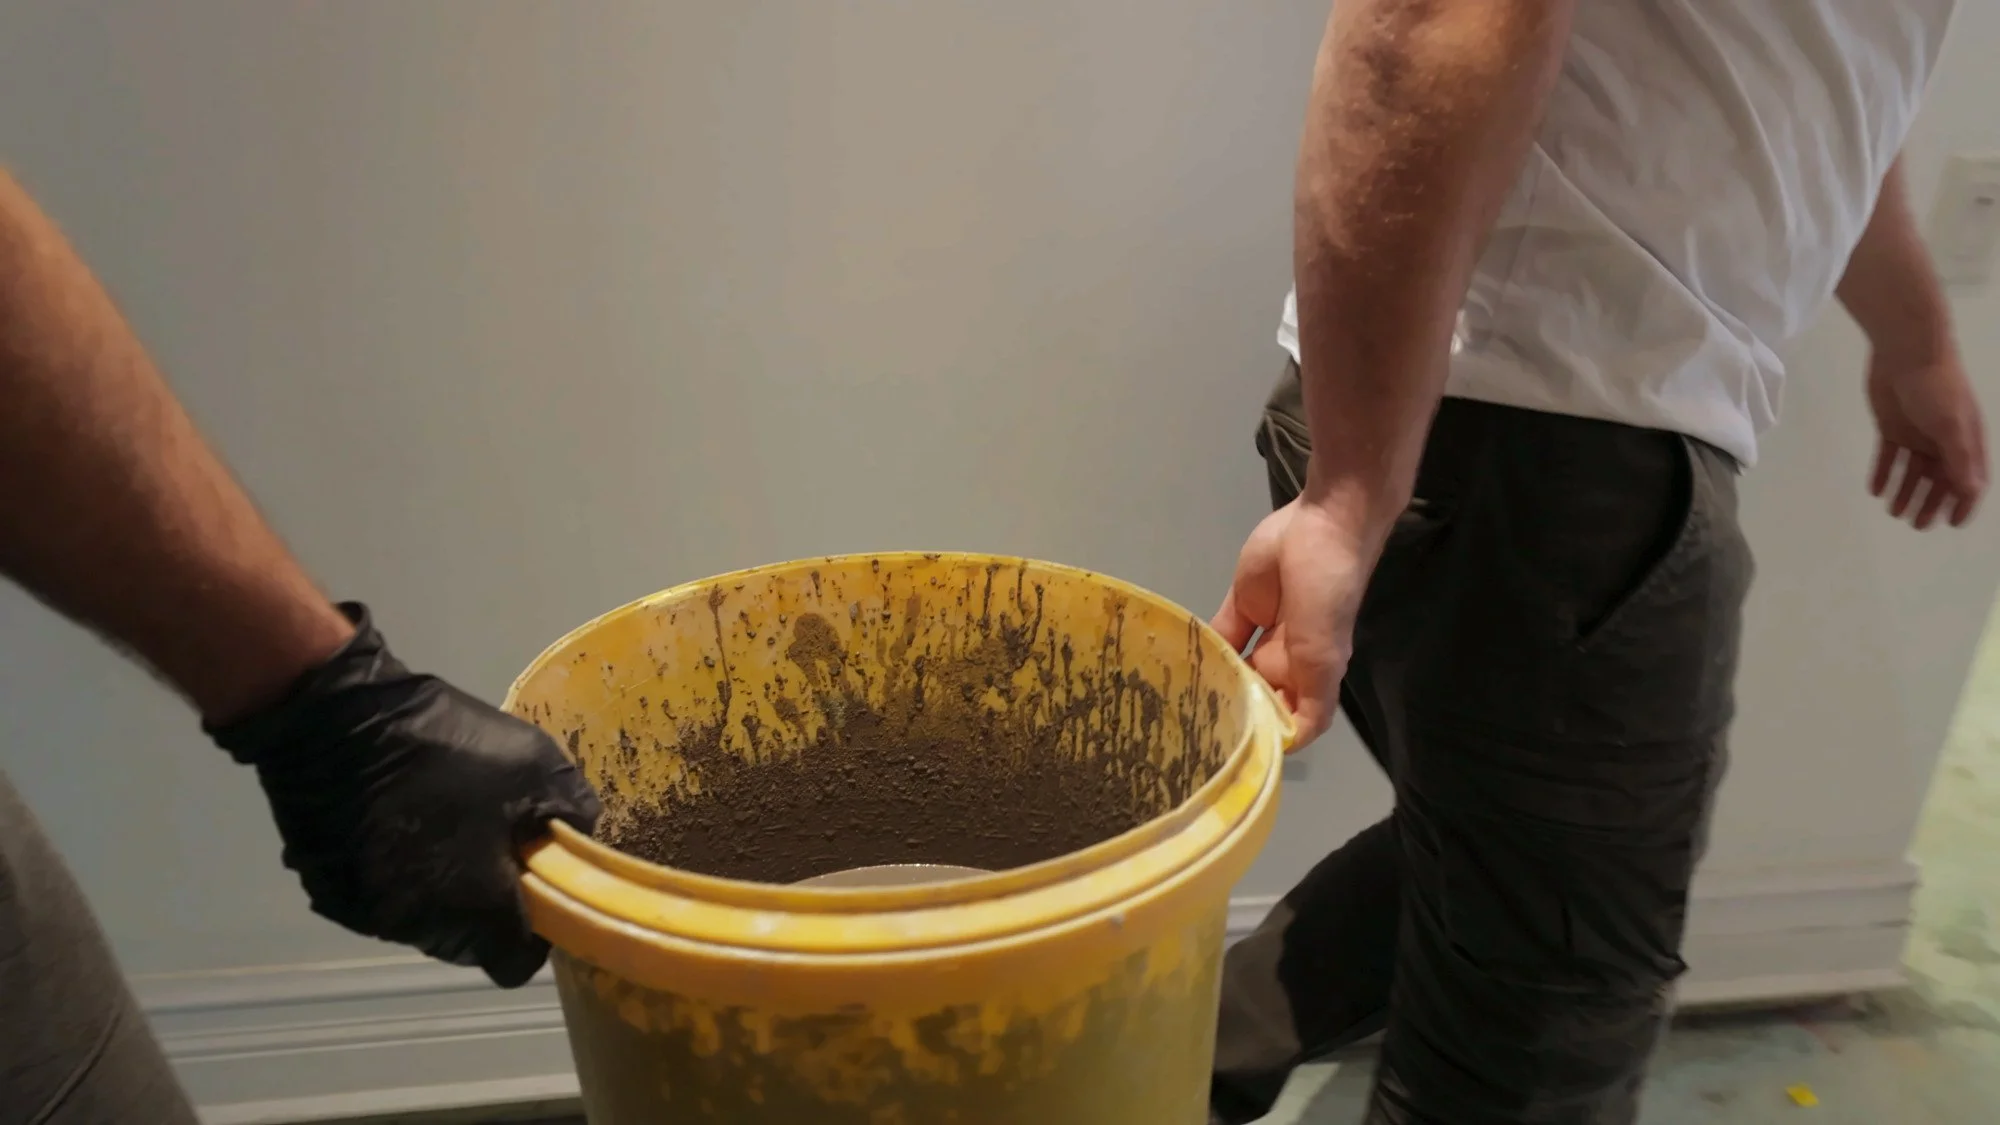
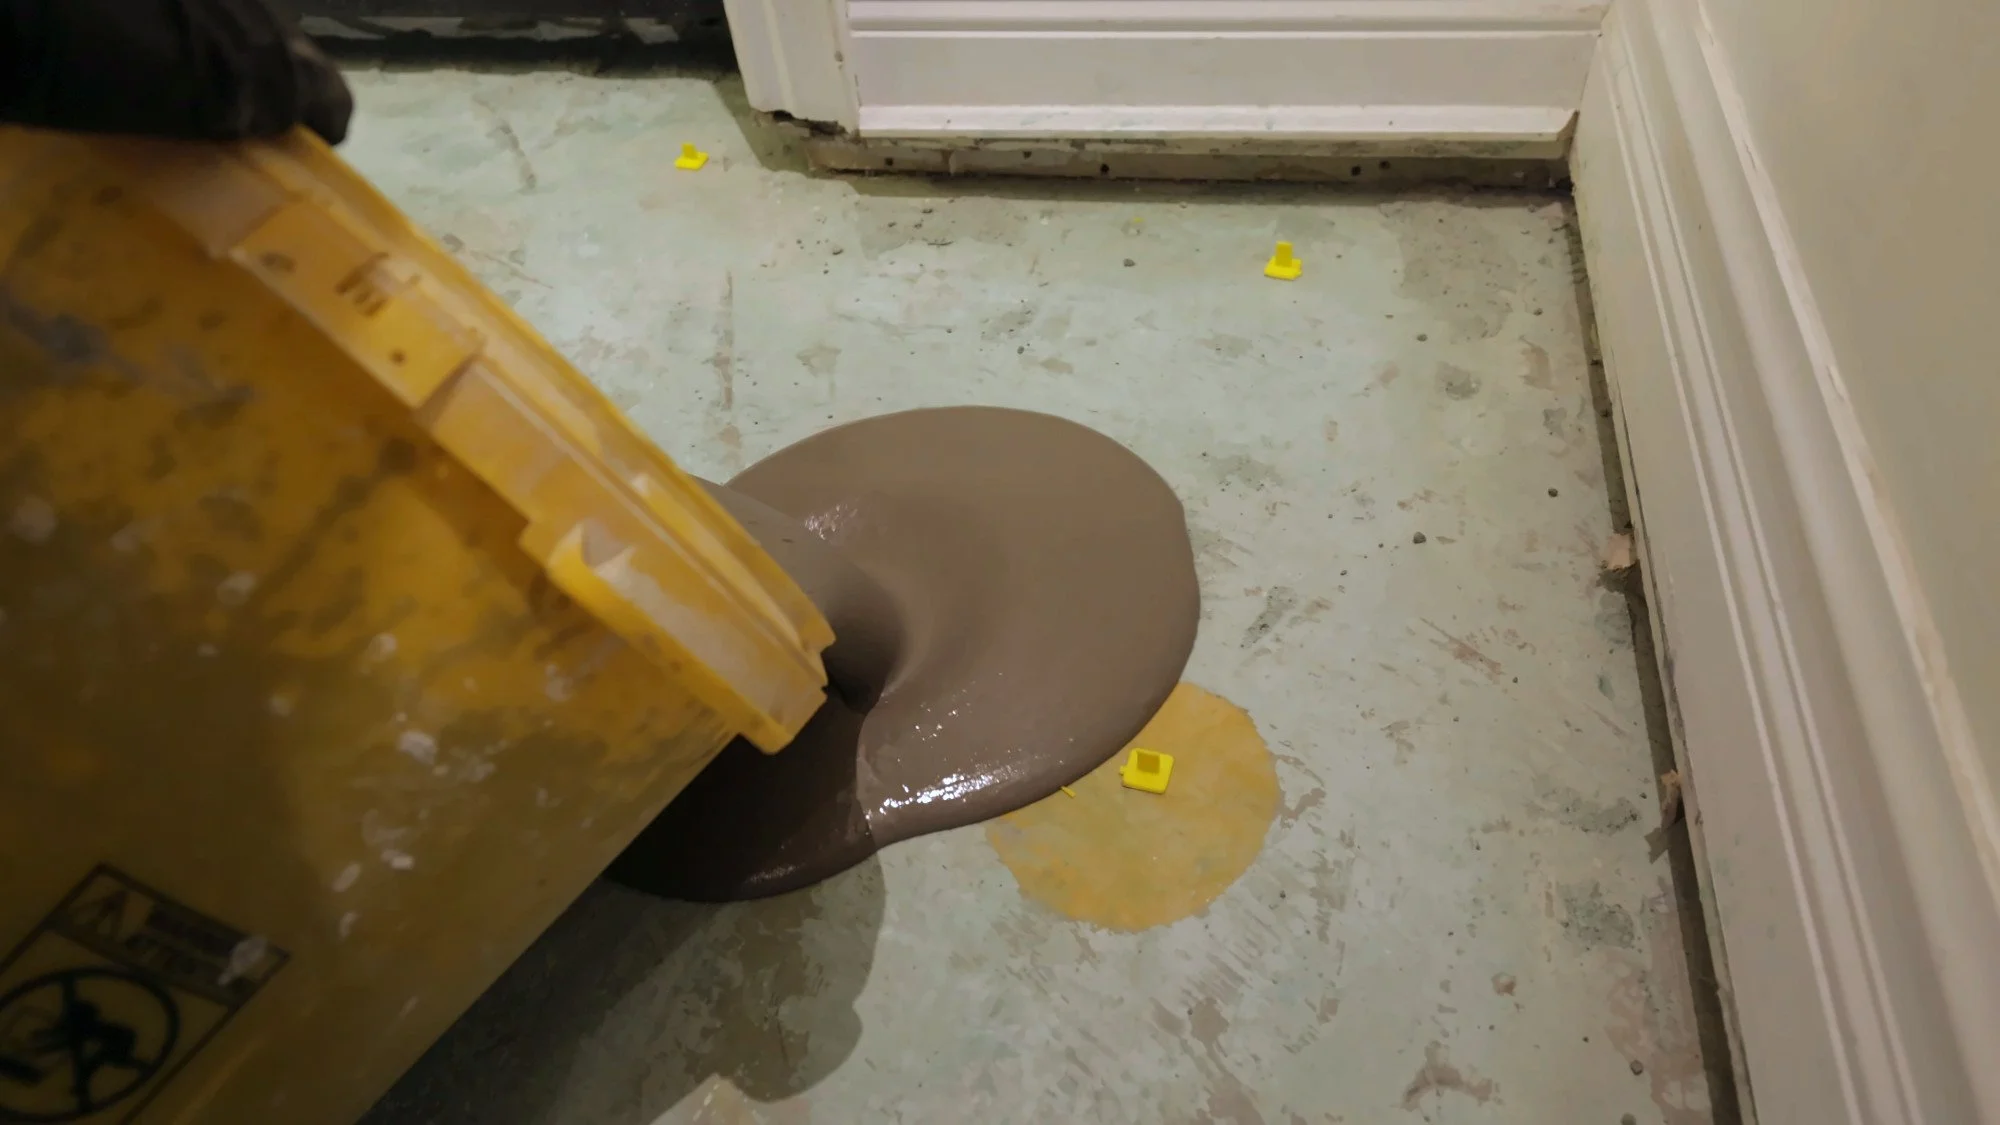
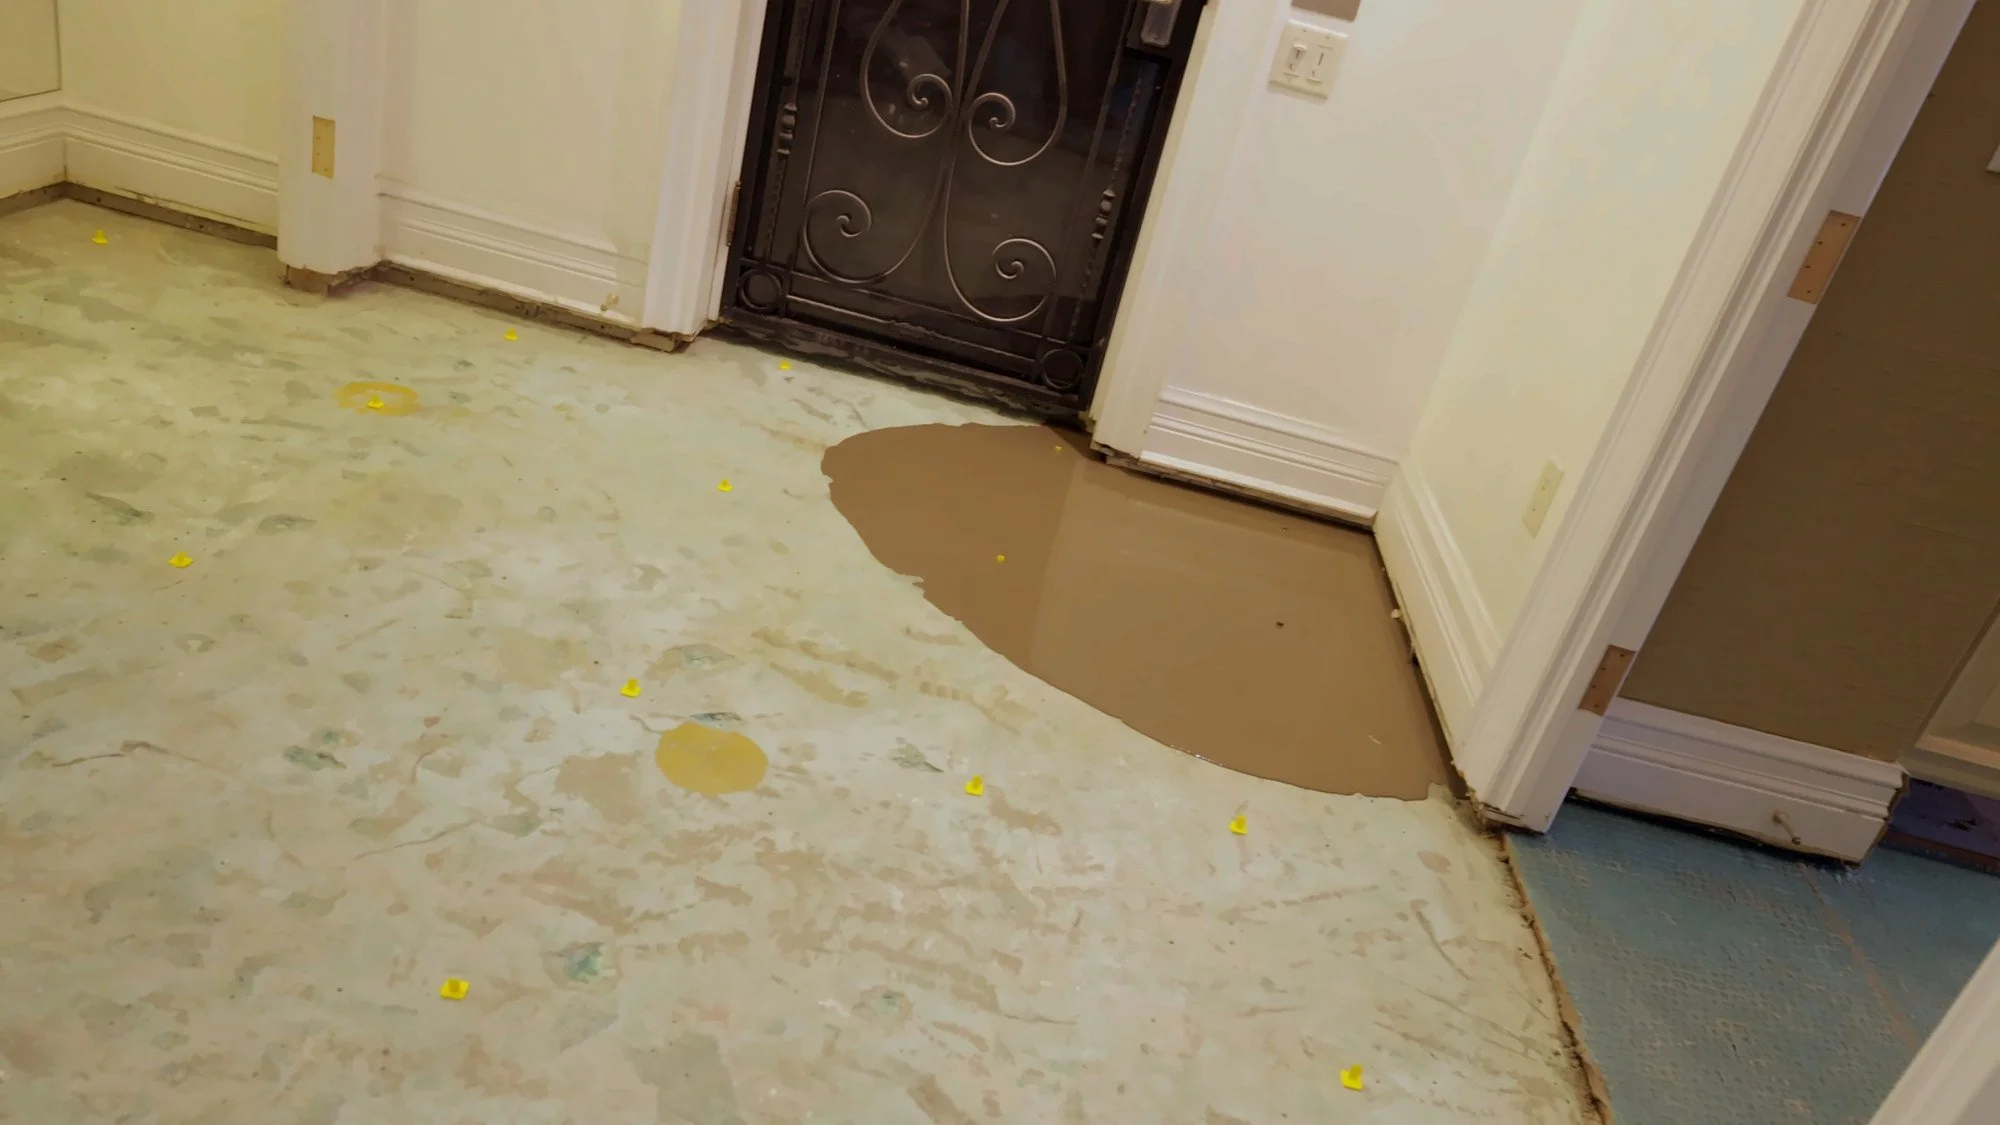
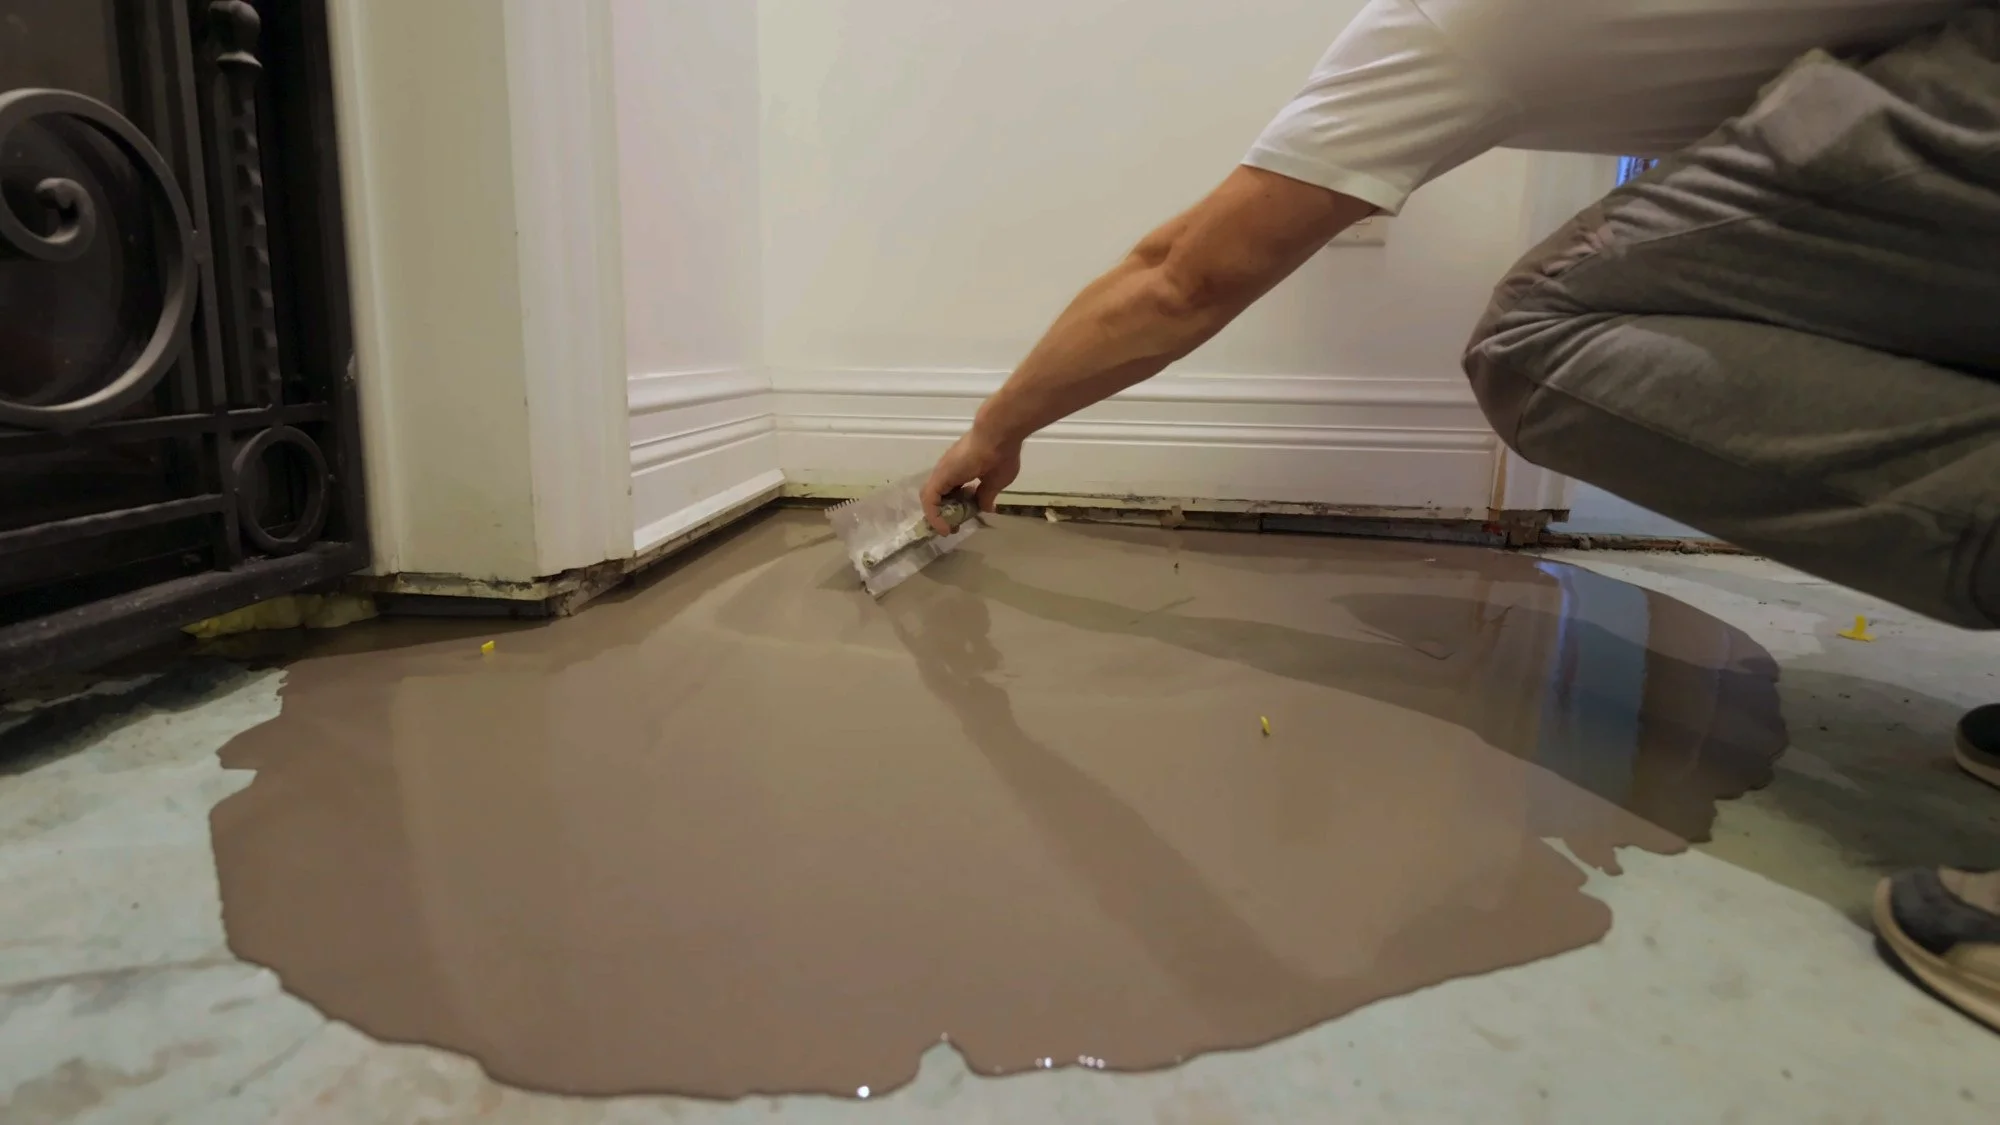
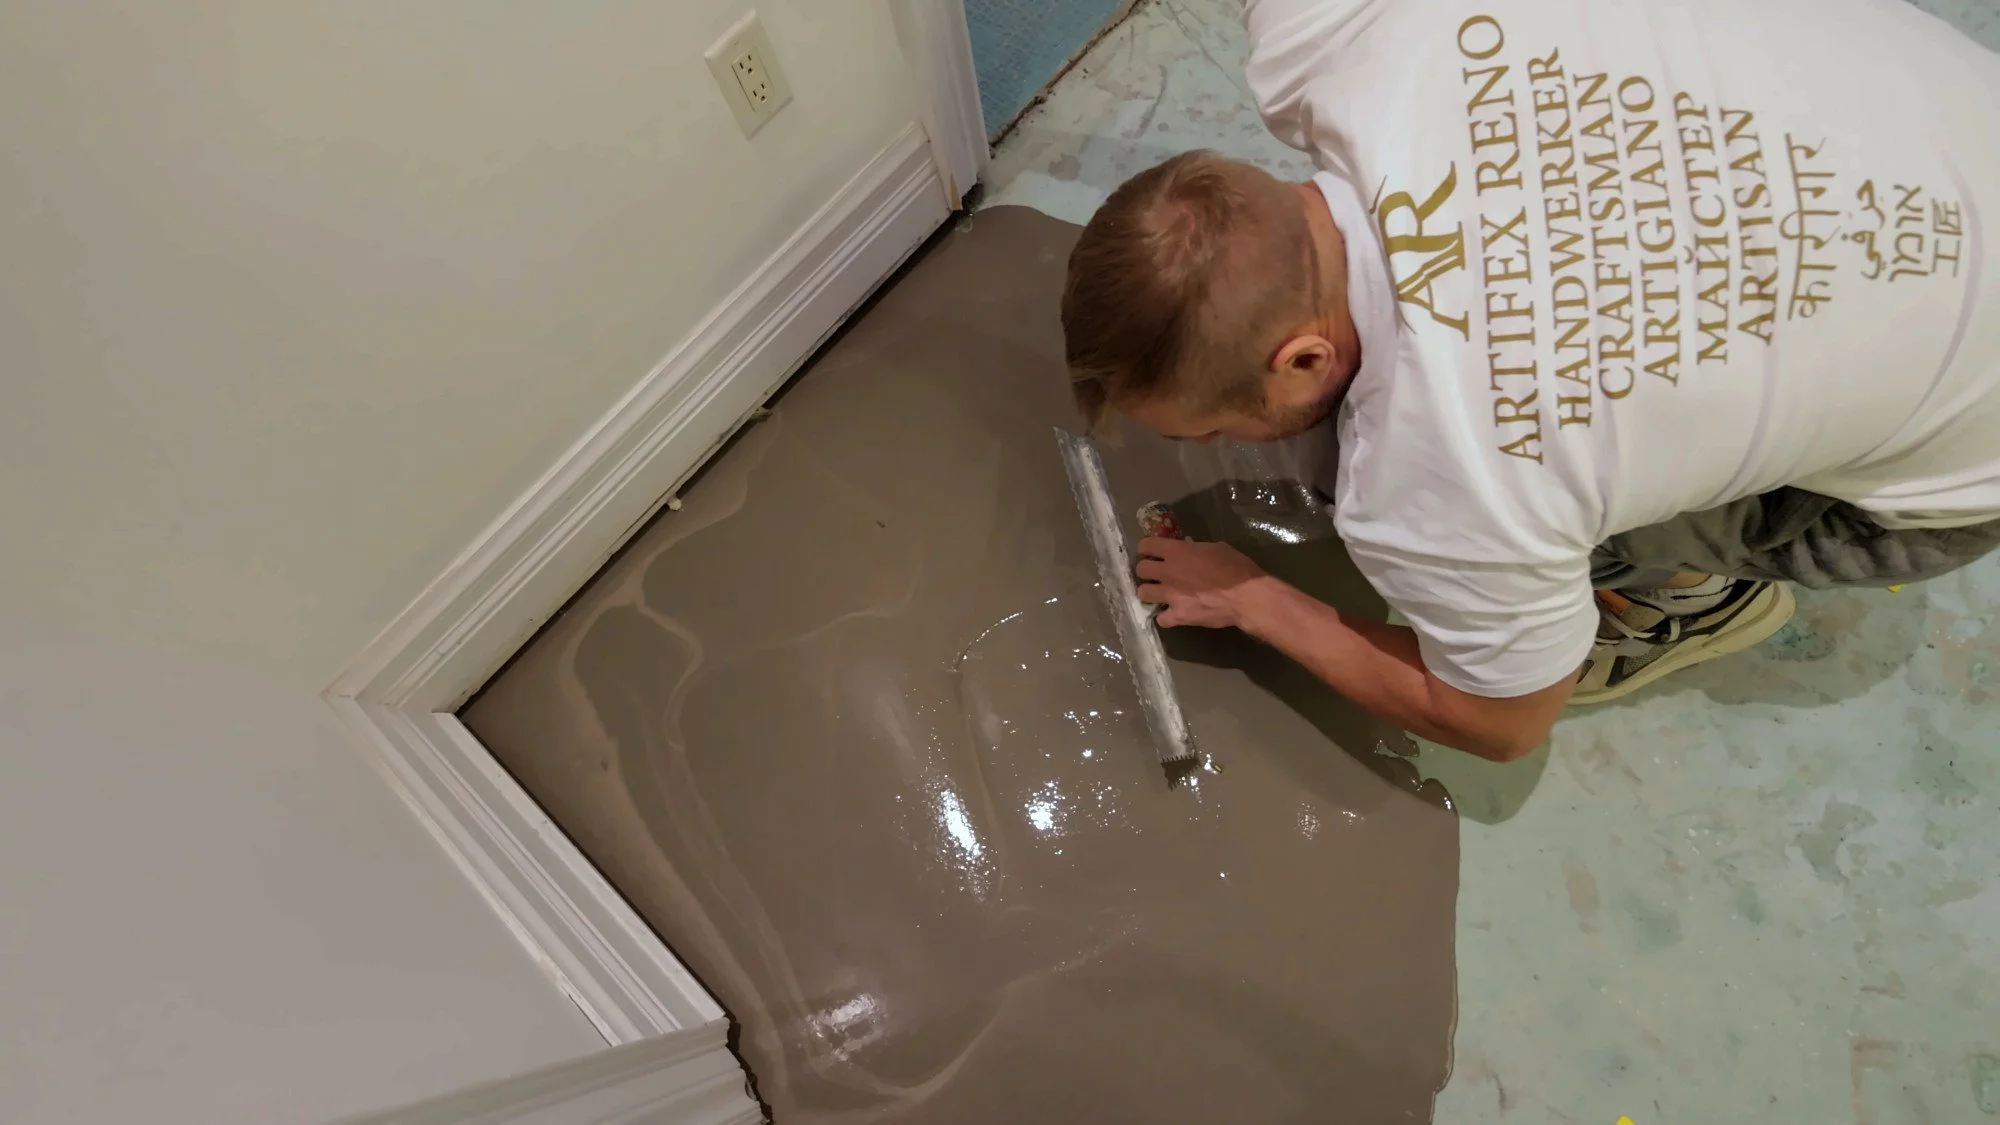
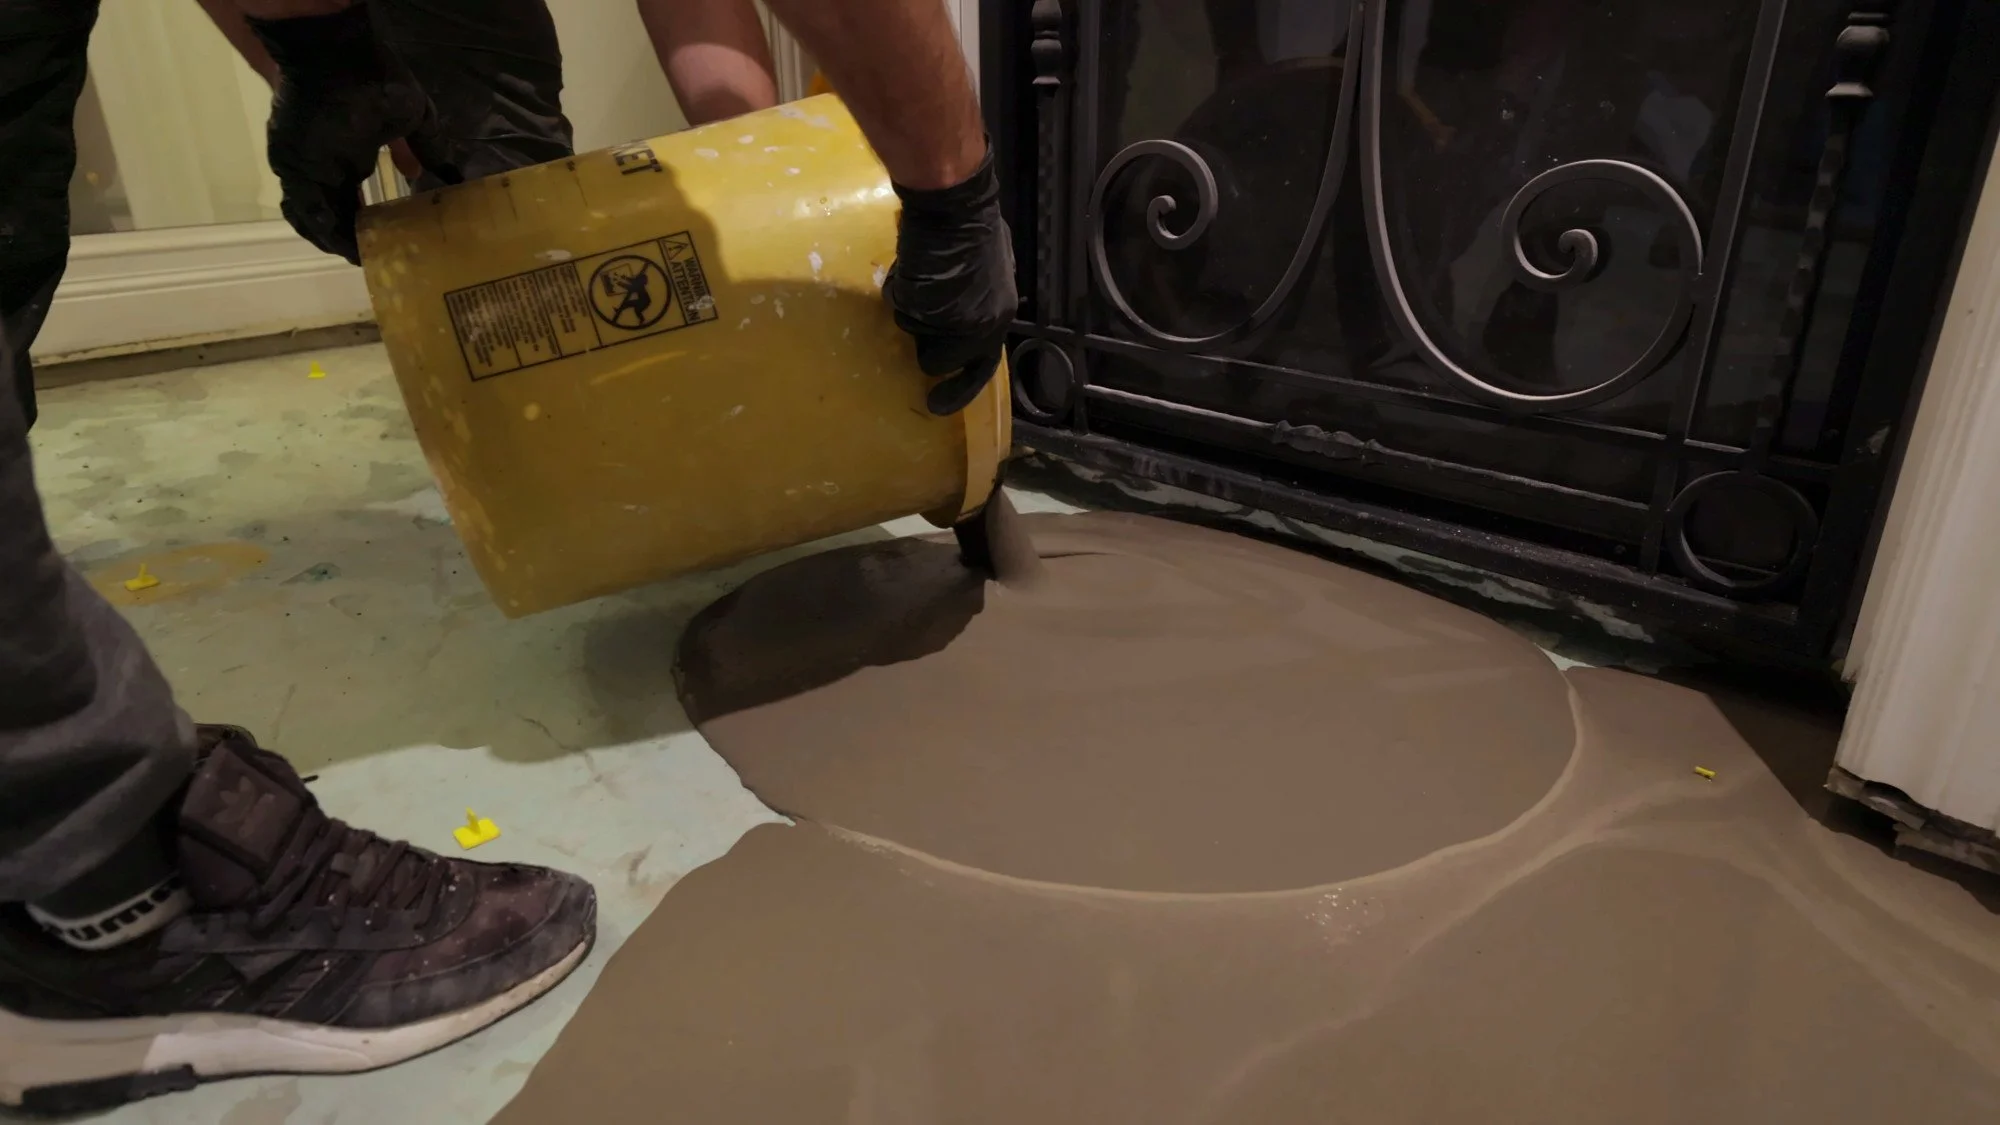
Substrate and waterproofing. The surface is prepared and, in wet areas, waterproofed before any tile goes on.
Layout. Borders, niches, drains and edges are worked out against the real room, so the pattern does not end in a sliver at the doorway.
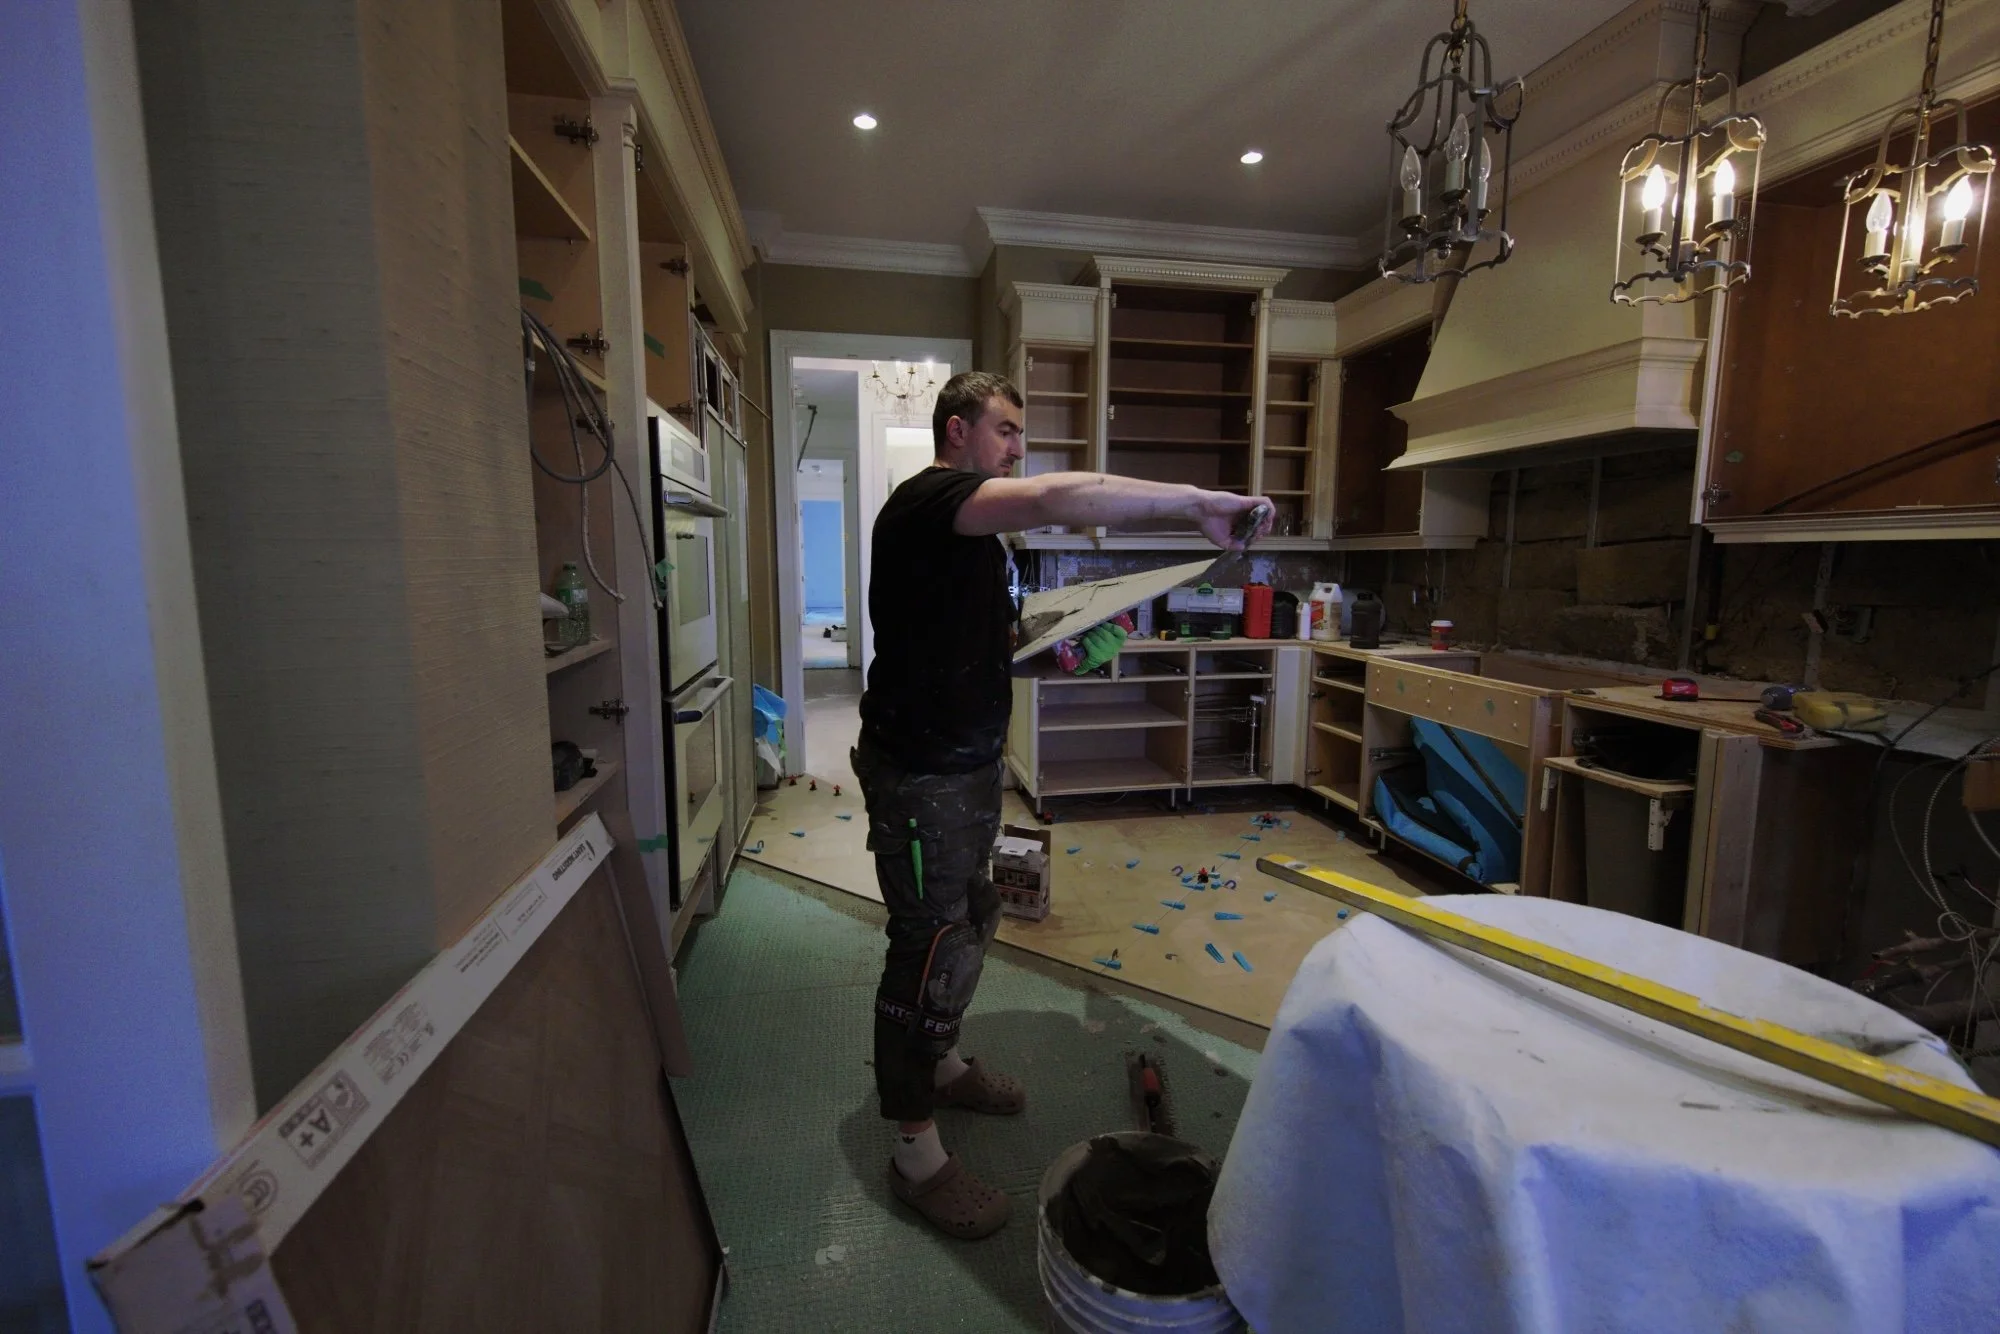
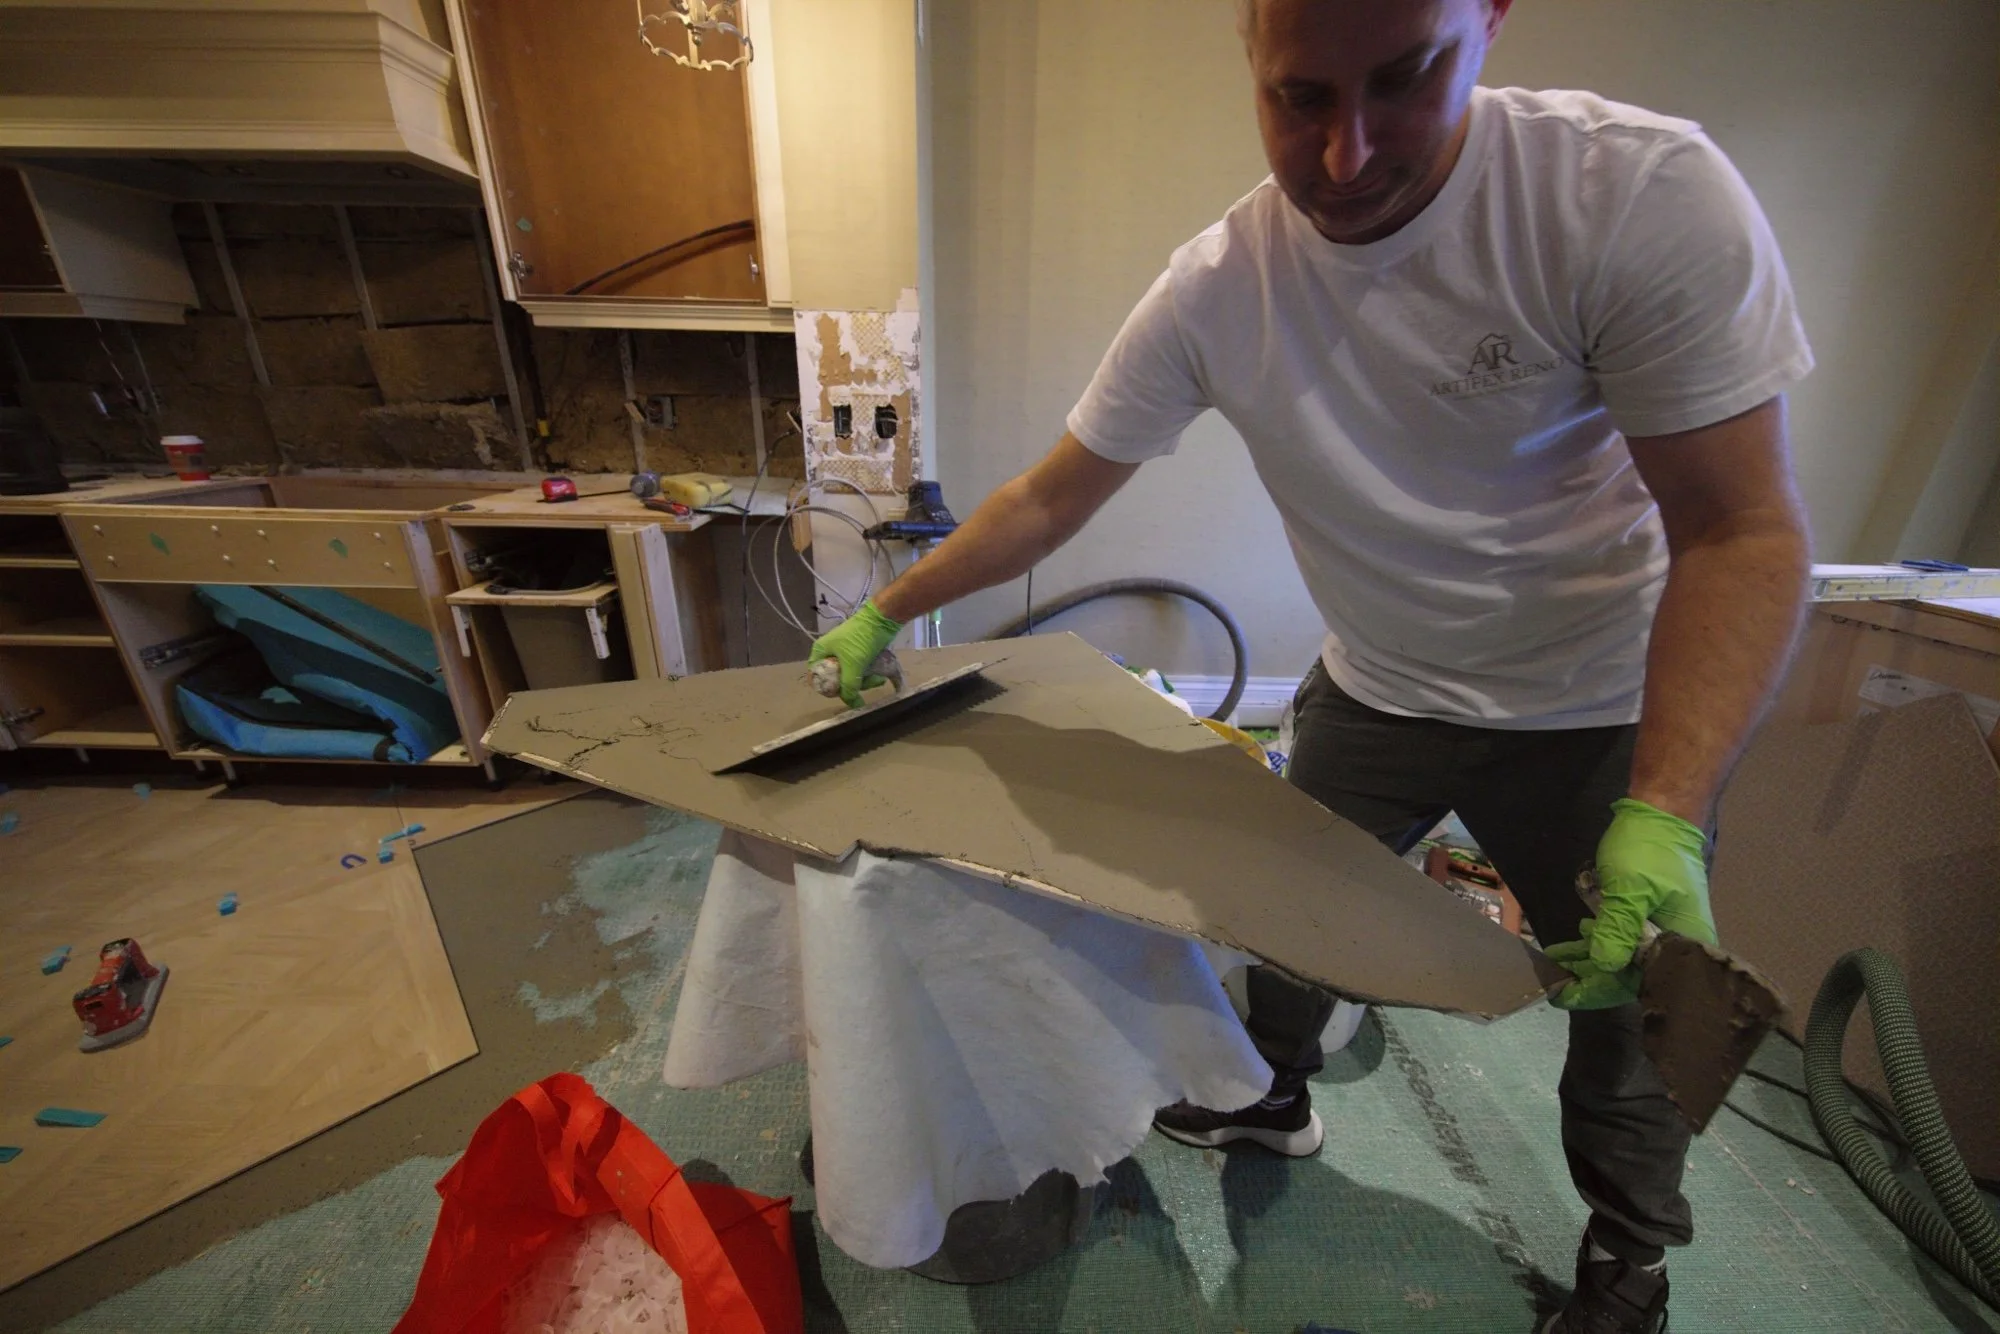
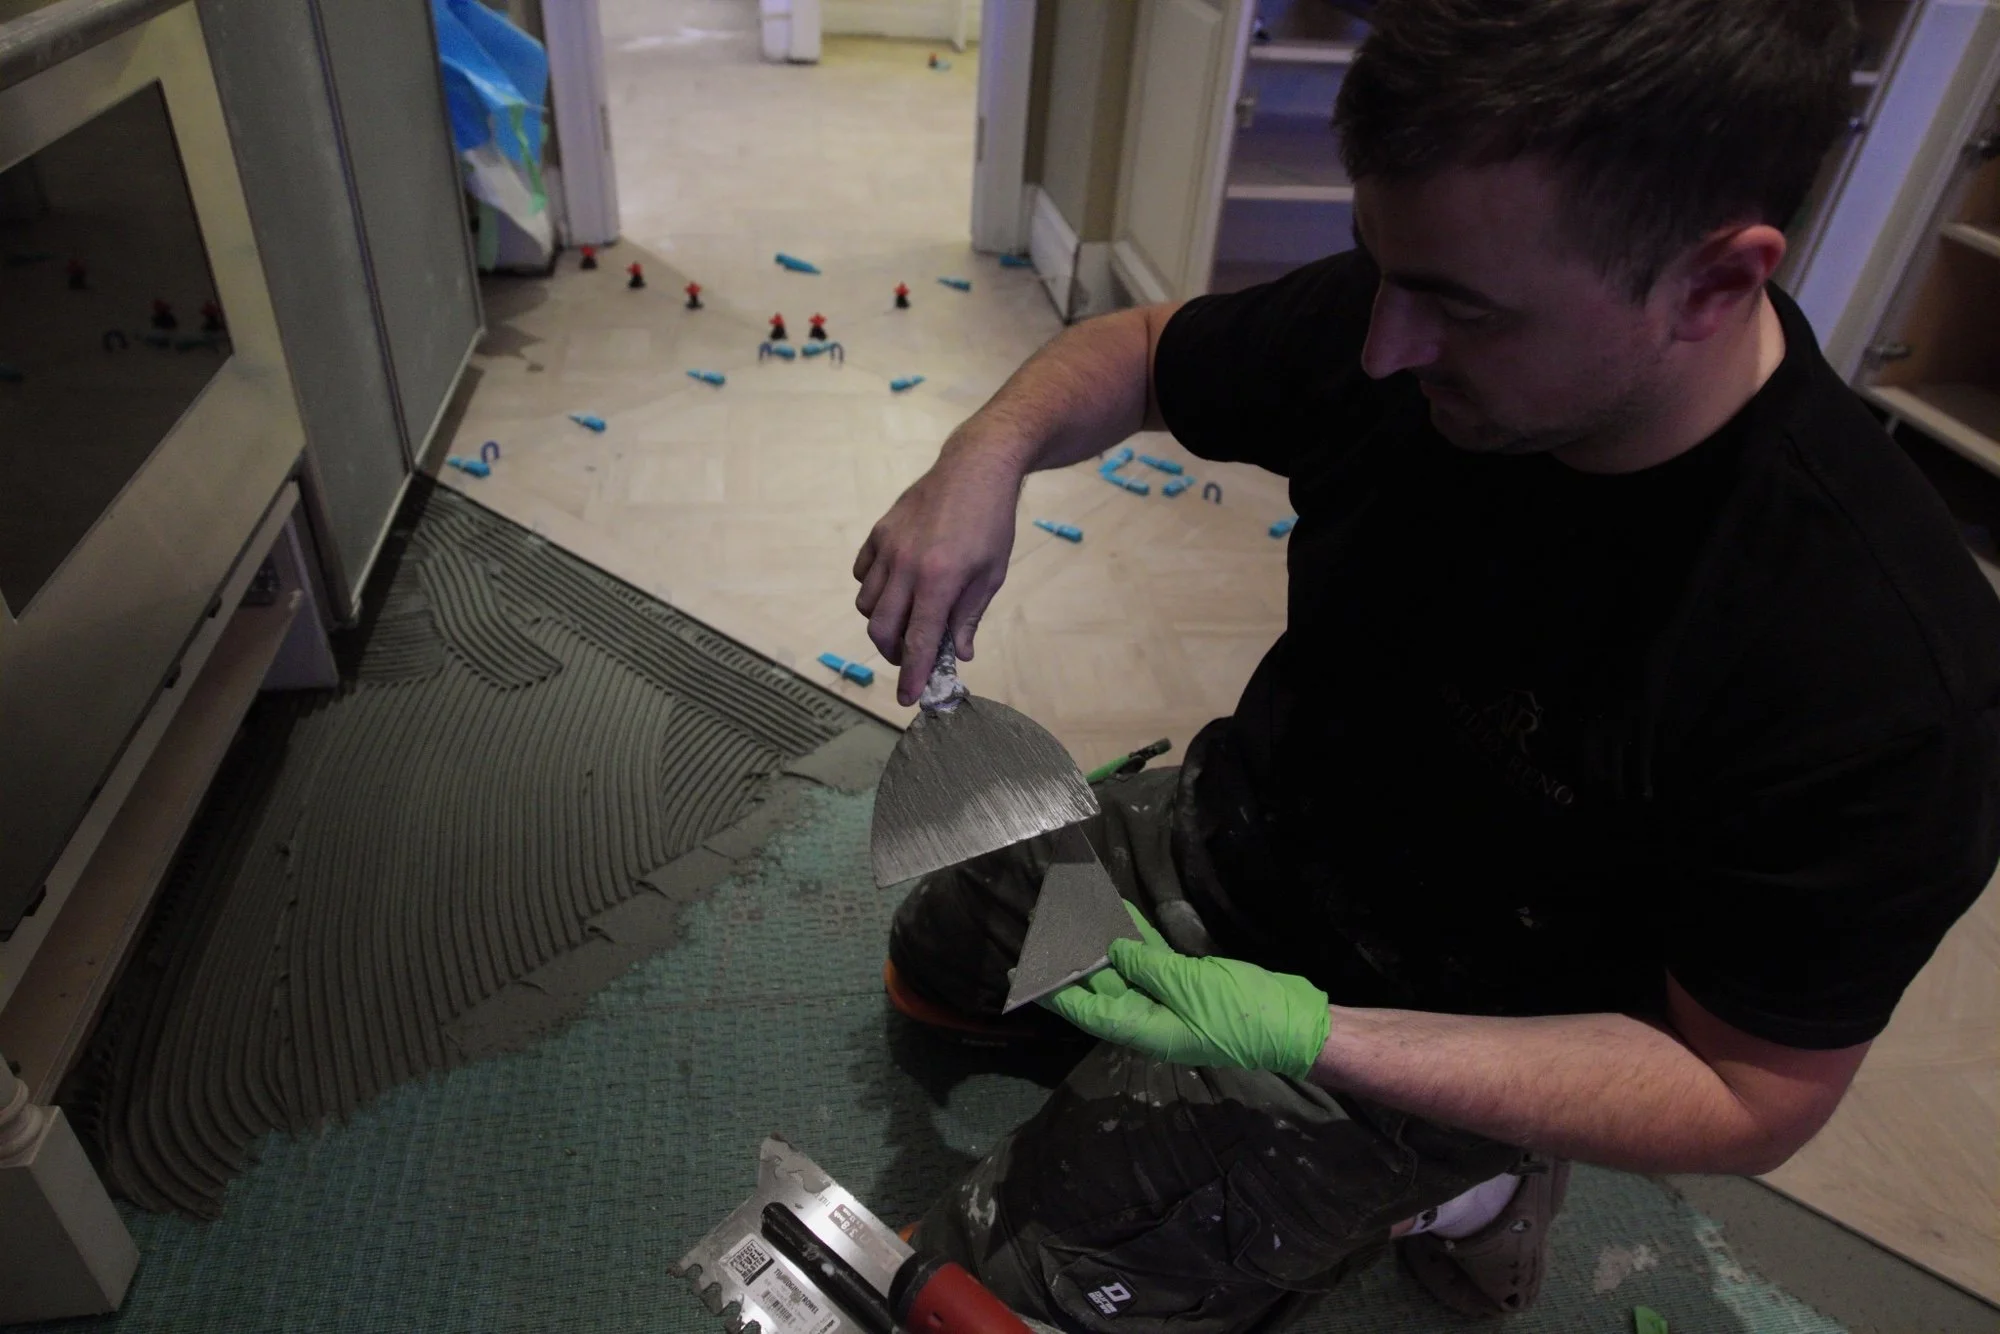
Set and level. Tile goes down on a mechanical levelling system, with cuts directed to drains and around fixtures.
Grout, finish and handover. A final walkthrough against the original scope, line by line.
Get a free estimate for your tile project
Tile size, pattern, the condition of the walls and floor, and whether waterproofing is part of the job all shape the work, so we price each project from a walkthrough. Nazar visits, measures and looks at the surfaces the tile will go on, then you receive a written scope with materials, timeline and price before any work starts.
Get a free estimate or call 647 223 4051.
Tile work from our projects
Bathroom renovation in Etobicoke, Toronto: brown vertical shower tile, a recessed niche and a wood-look patterned floor, documented from shower preparation to finish.
Hanna Road bathroom, East York, Toronto: pale marble-look tile across the floor and into the shower, with a niche and tiled seat.
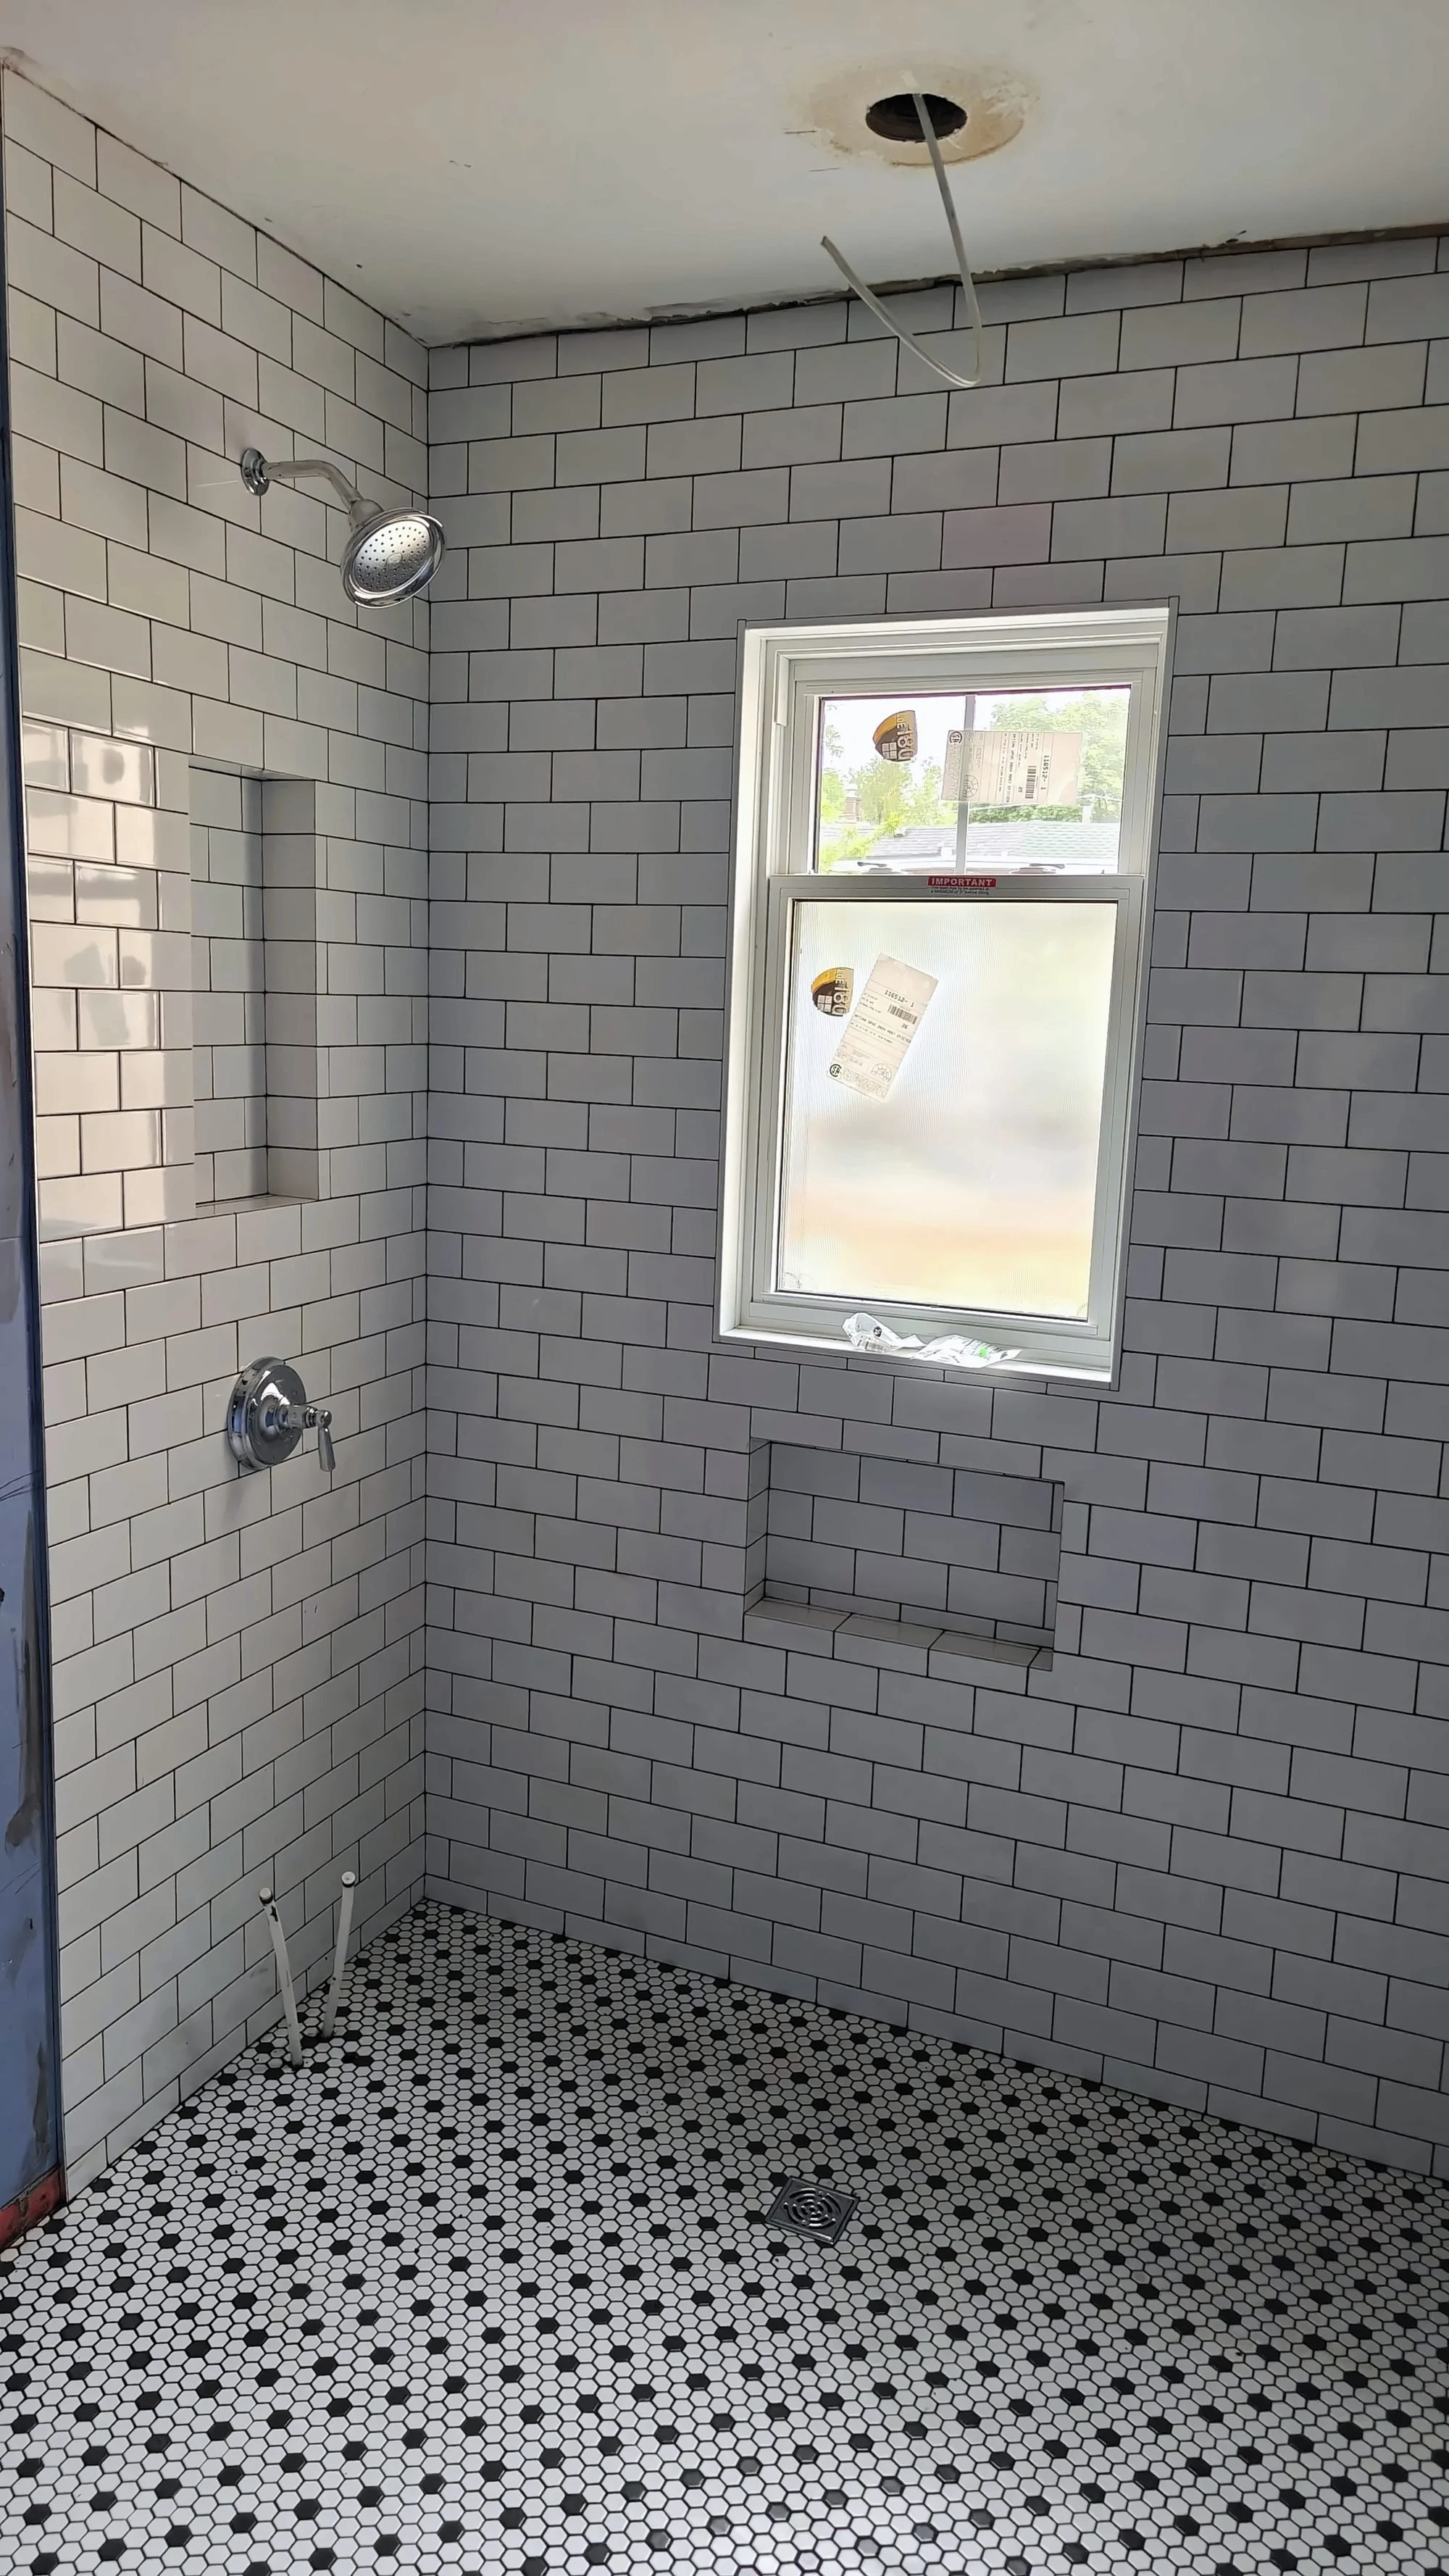
Gainsborough second-floor bathroom, Toronto: white subway tile set with levelling clips and a black-and-white hexagonal mosaic floor.
Gainsborough basement bathroom, Toronto: green wall tile, a tiled corner bench and a shower floor cut to the drain.
Cawthra bathroom, Mississauga: pale veined tile with a mosaic shower floor.
Bathroom tile renovation, Mississauga: grey wall tile and a wood-look herringbone floor.
Curved shower and fireplace tile, Vaughan: small tiles following a curved shower wall, plus fireplace tile.
Entry floor and bathroom, Downtown Toronto: a light tiled entry floor and a veined bathtub surround.
Mosaic bathroom floor with a contrasting border and bathroom tile installation in progress, with levelling clips still in place.
Read more: Tile levelling and lippage · Large-format tile in a bathroom · Large-format slab shower · Heritage mosaic floor · Curbless shower tile
Why homeowners choose Artifex Reno
Most of the projects in our gallery are tile work. Founder Nazar Popov leads a crew with its own tiler, and the person who quotes your project is the person responsible for how it is built. More than 700 projects over 11 years, with $2,000,000 in liability insurance and WSIB clearance.
Frequently asked questions
What is tile lippage, and how do you prevent it? Lippage is when one tile edge sits higher than the one beside it. A level alone cannot hold every edge flush while the setting material cures, so every tile we install goes down on a mechanical levelling system. Read more about levelling.
What goes behind shower tile? Tile and grout are not the waterproofing. Behind them is a prepared substrate and a continuous membrane, with seams, corners, penetrations and the drain connection treated as one system. We photograph it before it is covered.
Can you install large-format tile or stone-look slabs? Yes. Large-format porcelain and stone are moved with vacuum lifters and set by hand as full sheets. Large tile shows every bow in a wall, so the substrate is prepared flat first.
Do you take tile-only jobs? Yes, tile can be a focused project, such as a backsplash, an entry floor or a shower. Tell us which surfaces need work and send photos, and we will identify the preparation that needs to be included.
How long does tile installation take? A kitchen backsplash typically takes 1 to 2 days, a bathroom floor about 2 to 5 working days, and a fully tiled shower about 4 to 7 working days, because waterproofing, mortar and grout each need time to cure before the next step. These are typical ranges; your exact schedule is confirmed in your written scope.
How much does a tile project cost? It depends on the tile, the pattern, the area and the preparation the surfaces need. After the walkthrough you receive a written scope with the exact price before any work starts, and the number you approve is the number you pay. Get a free estimate.
Start with a walkthrough
Tell us what you want tiled. Get a free estimate or call 647 223 4051.
Related: Bathroom renovations · Kitchen renovations · Flooring installation · Basement renovations · All services · Projects